Circular Fashion
Designing Modular Fashion
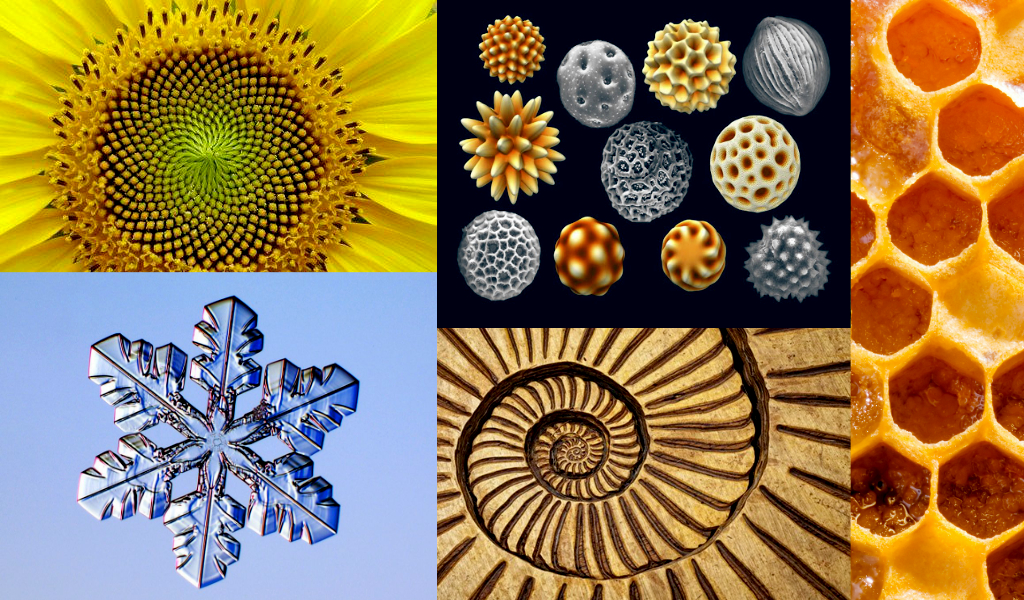
This week, we had to design modular configurations that could be assemble and locked together into infinite arrays. The idea of having a unique module that, once multiplied could become something entirely different is very interesting to me. Patterns and repetition plays a huge part in nature, from micro to macro, we can often find patterns all around us. A book that beatifully represent this Patterns in Nature: Why the Natural World Looks the Way It Does by Philipp Ball. This was my lecture of the week and I can't recommend it enouph.
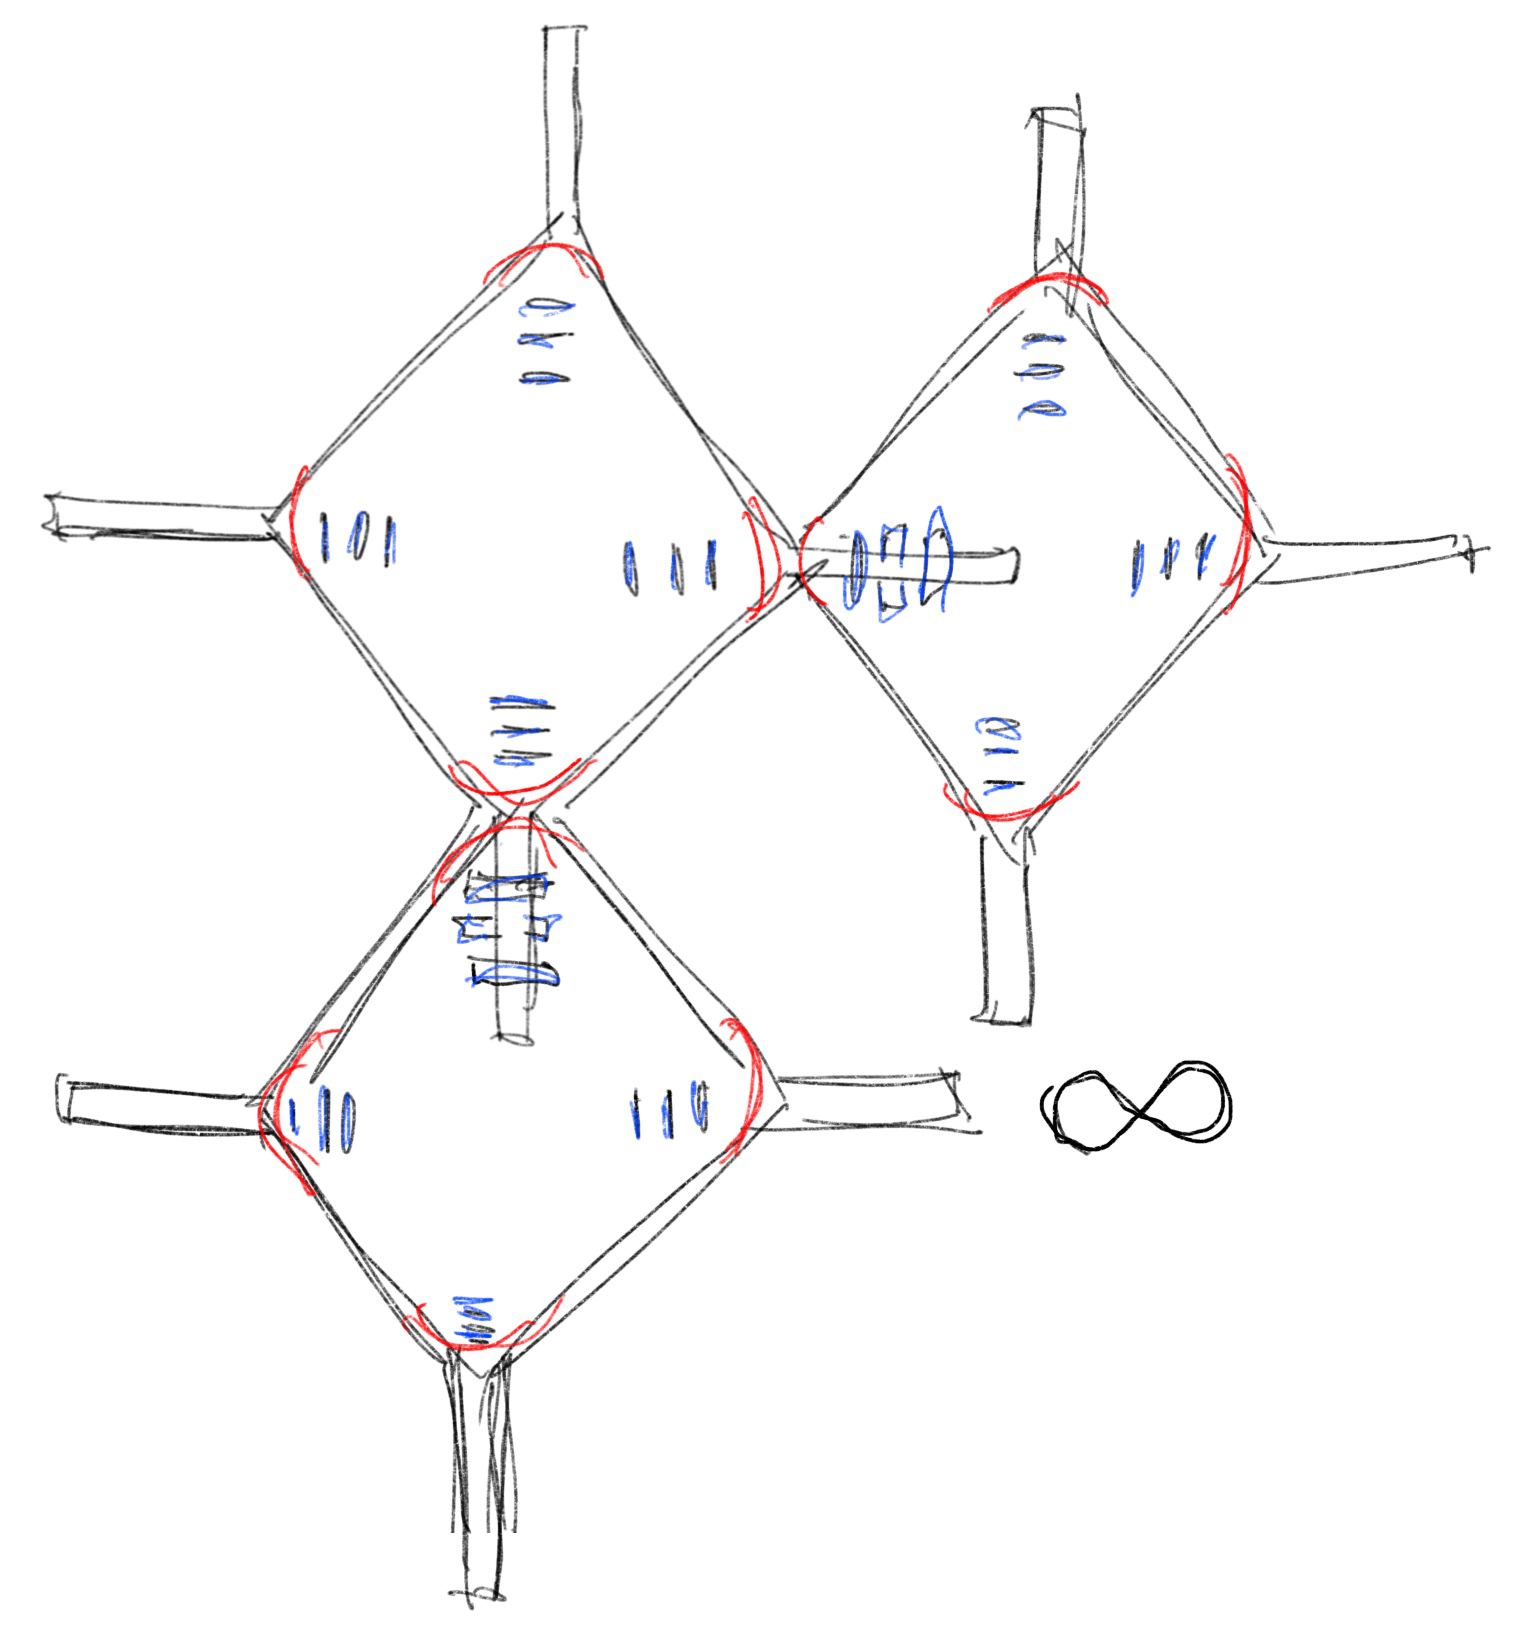
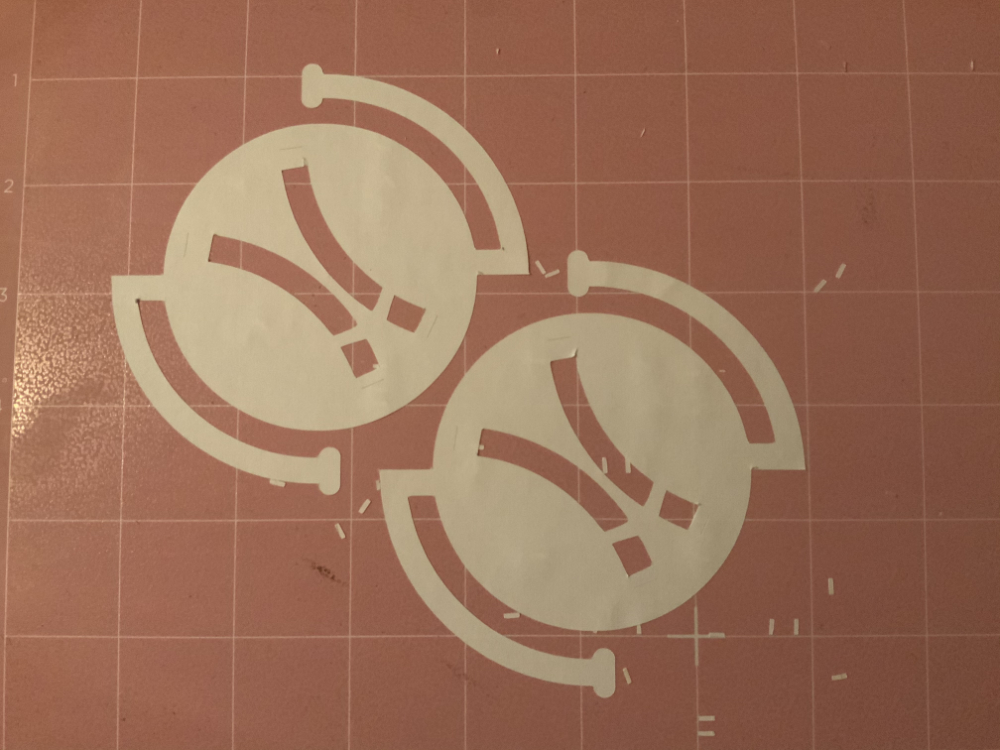
First thing I did was to draw some locking mechanism prototype that I could try on paper and then on fabrics. I had a couple of idea that I needed to draw before testing just to clarify if what I was thinking was doable.
Once this was done, I design them using Fusion 360, I really wanted to take the time and learn Rhino this week, I did followed a few tutorial on their offical youtube channel, but the process is so different from Fusion, and I'm missing time, so I decided to keep Fusion 360 for the time being.
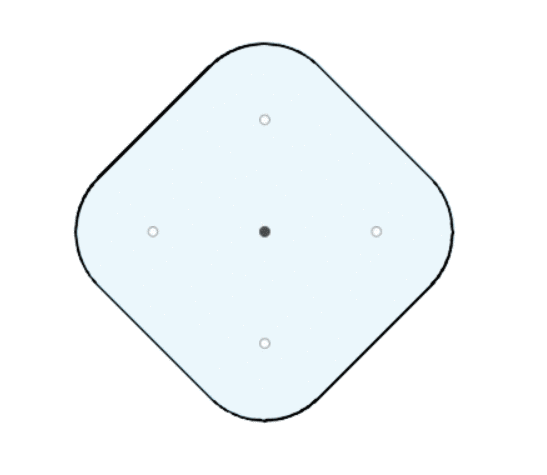
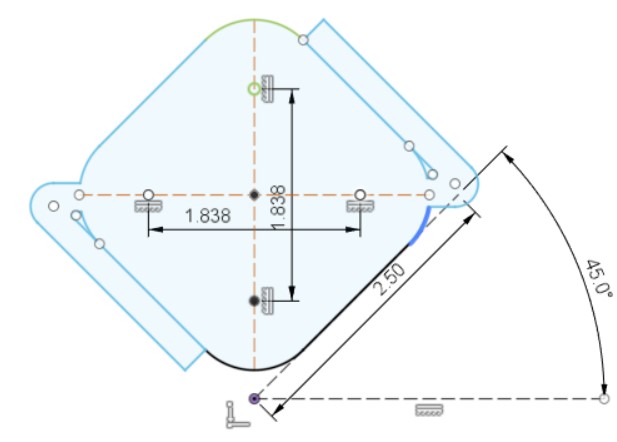
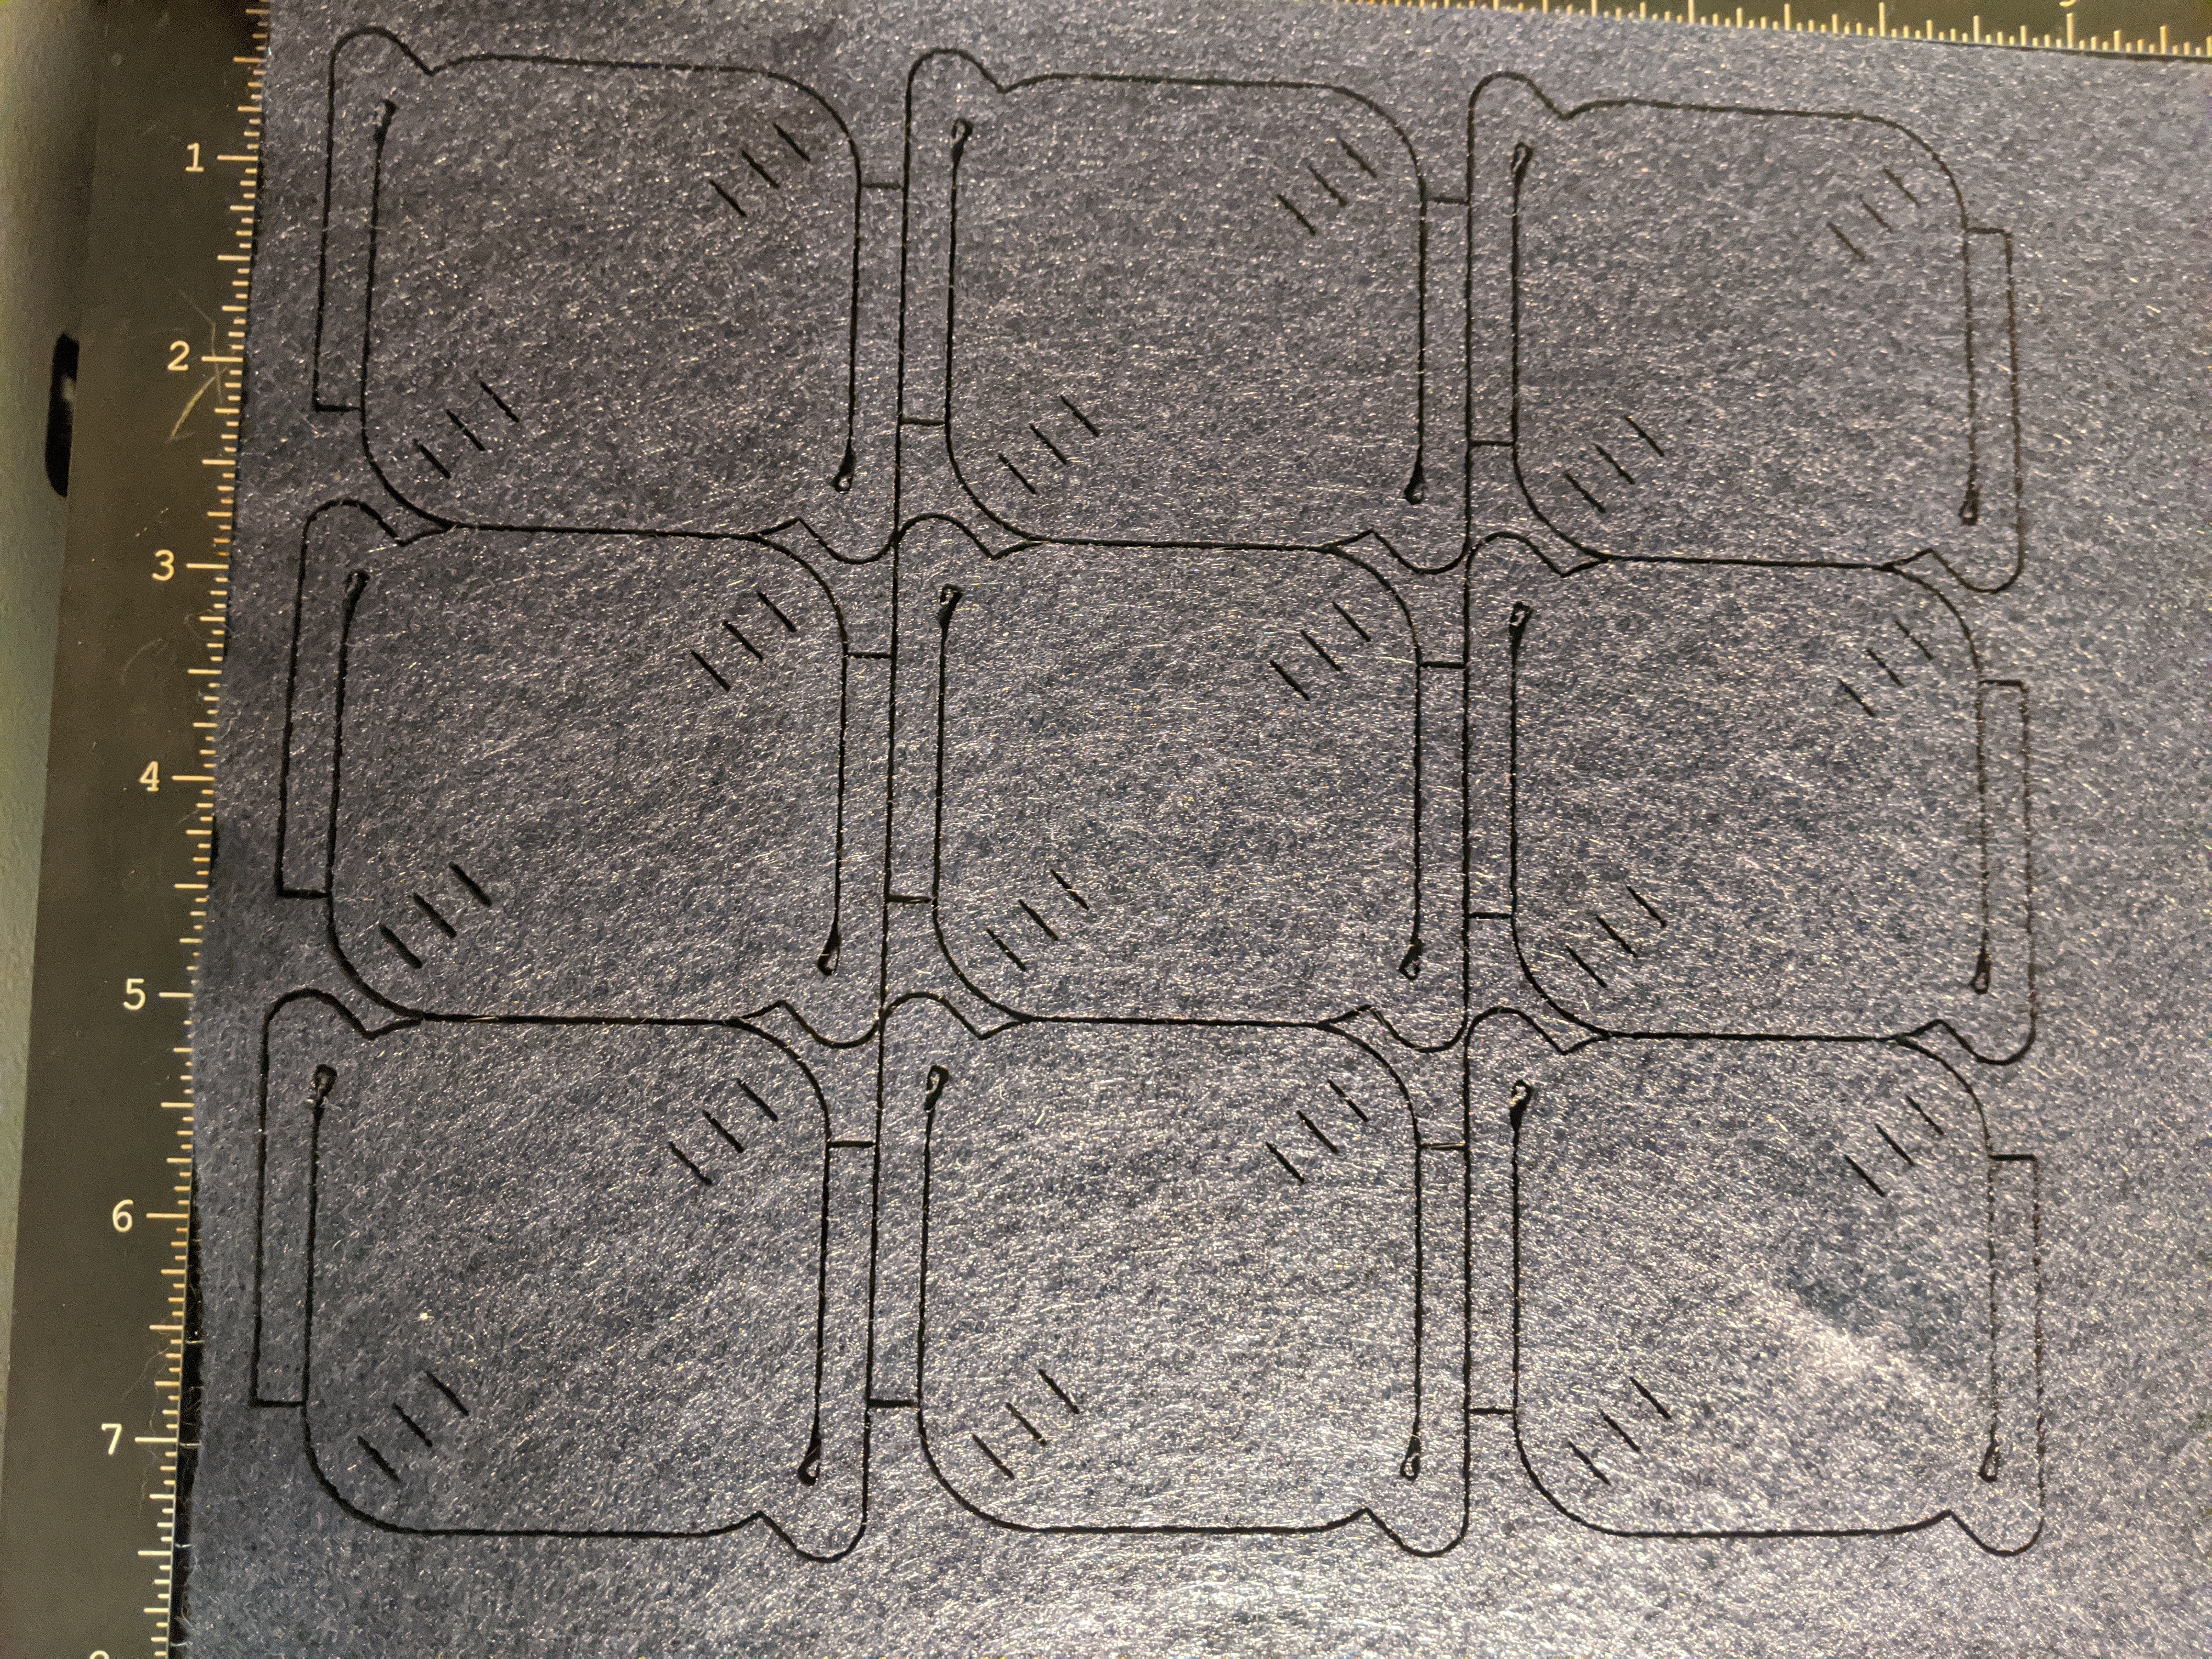
I decided to first tried my squared design, to do so, I use some very basic CAD function, I started by doing my sketch and setting some dimensions and constraint. I then made a rectangular pattern to visualise what an array of modules would look like. I then added the locking mechanism and thats it!
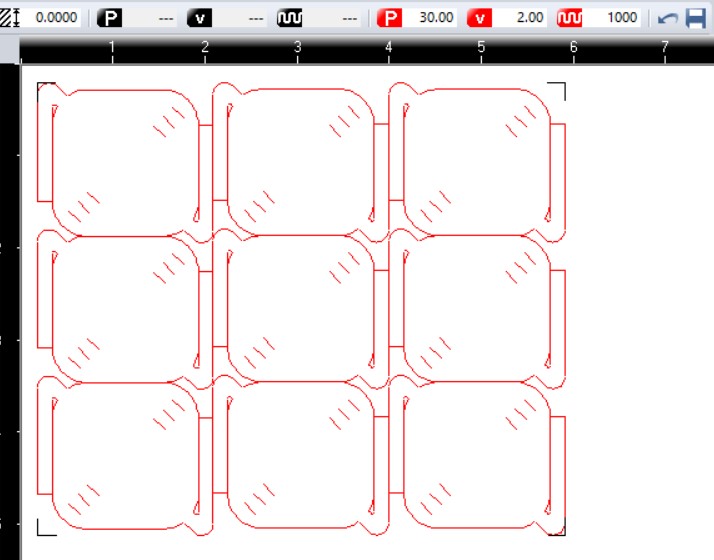
I used the cricut to cut my first prototype, I love the simplicity and versability of this machine. I used Deepnest to nest and prepare my file for the cricut, this is where I encounter my first step back, the nesting of this particular pattern is really not ideal, since my arm are so long, I can't really arrange in any interresting way my modules so that I don't loose to much material. I will come back to this once my first test is done.
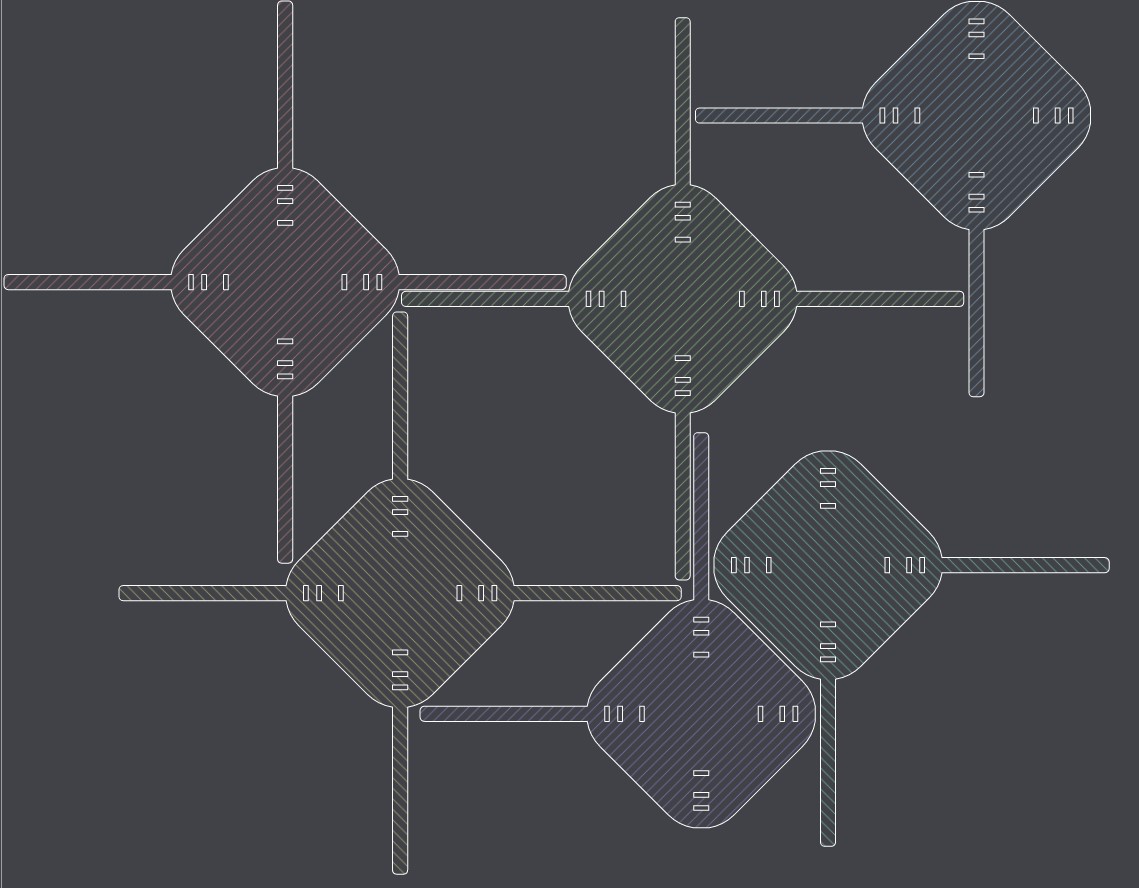
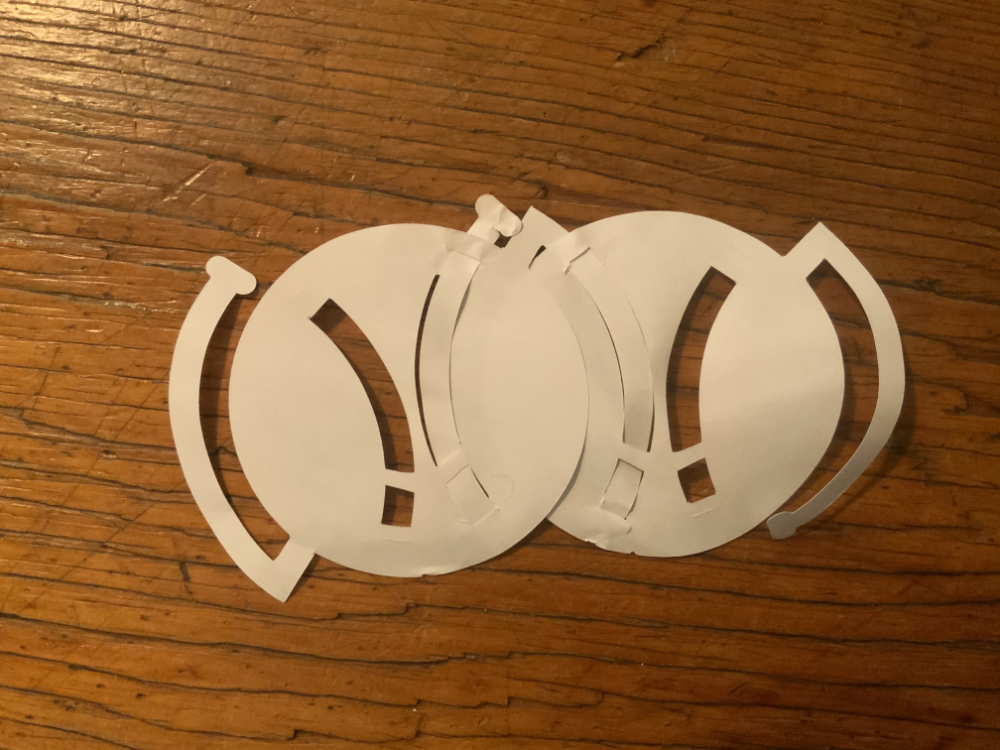
Far from perfect, the locking mechanism work fairly well put can't resist much pulling force, also, like already said, and as you can clearly see from the nesting, the loss of material on this design is real and inevitable. That won't do. But I'm pretty optimistic since I have a idea that could help both of those issues at the same time. let's go back to the drawing board!
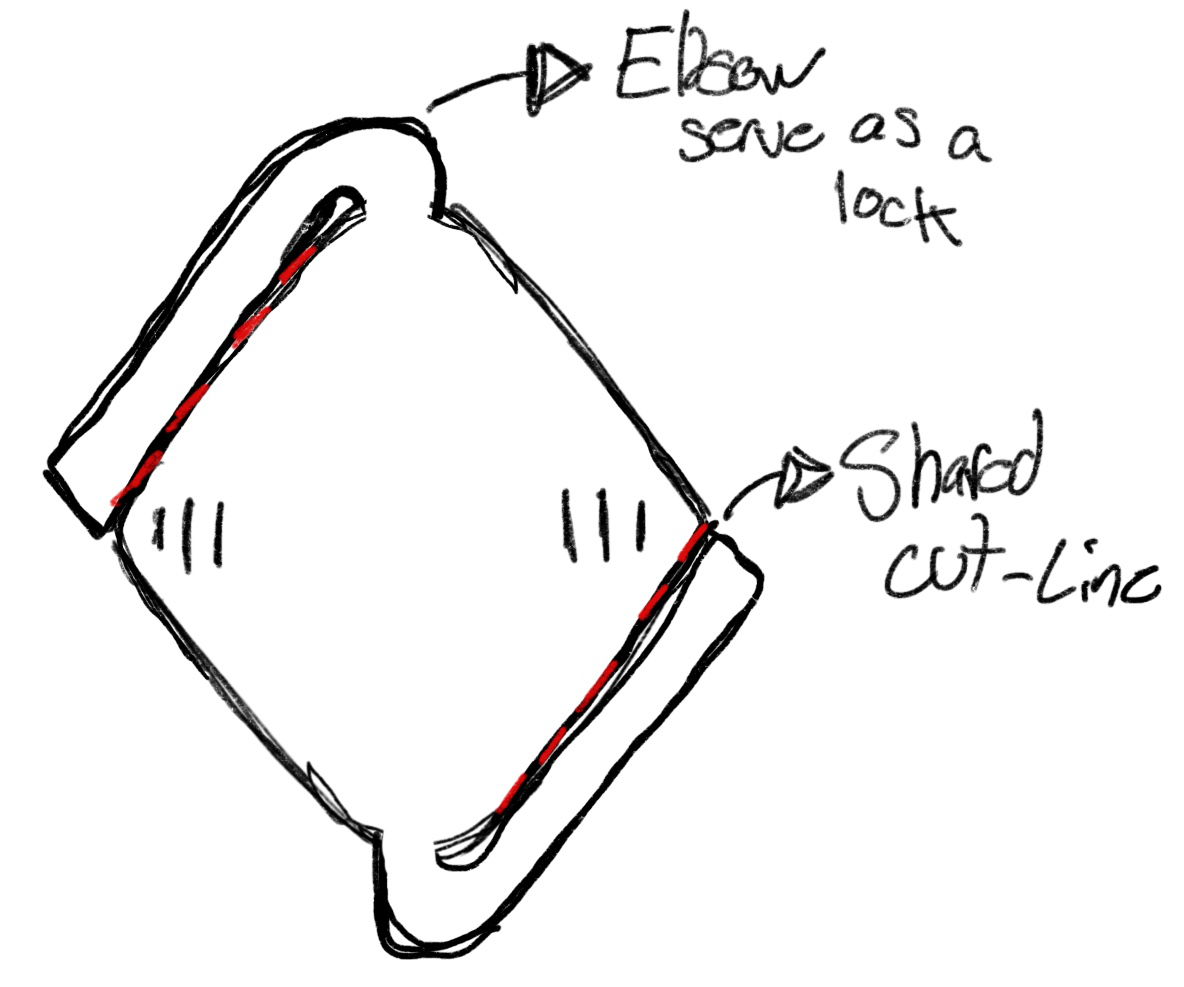
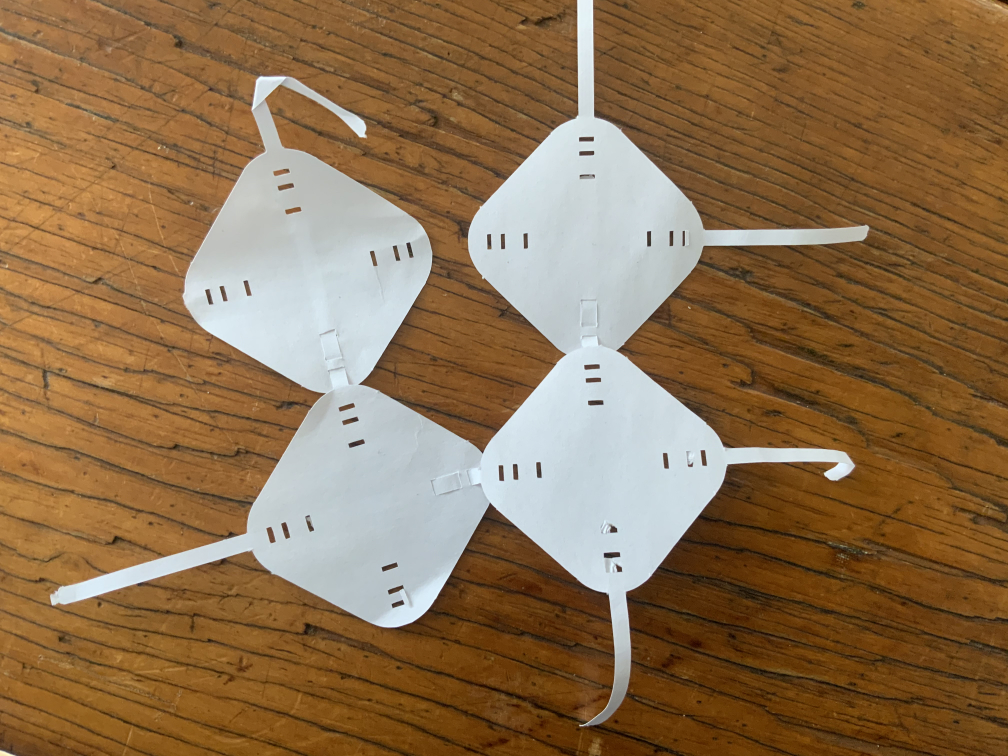
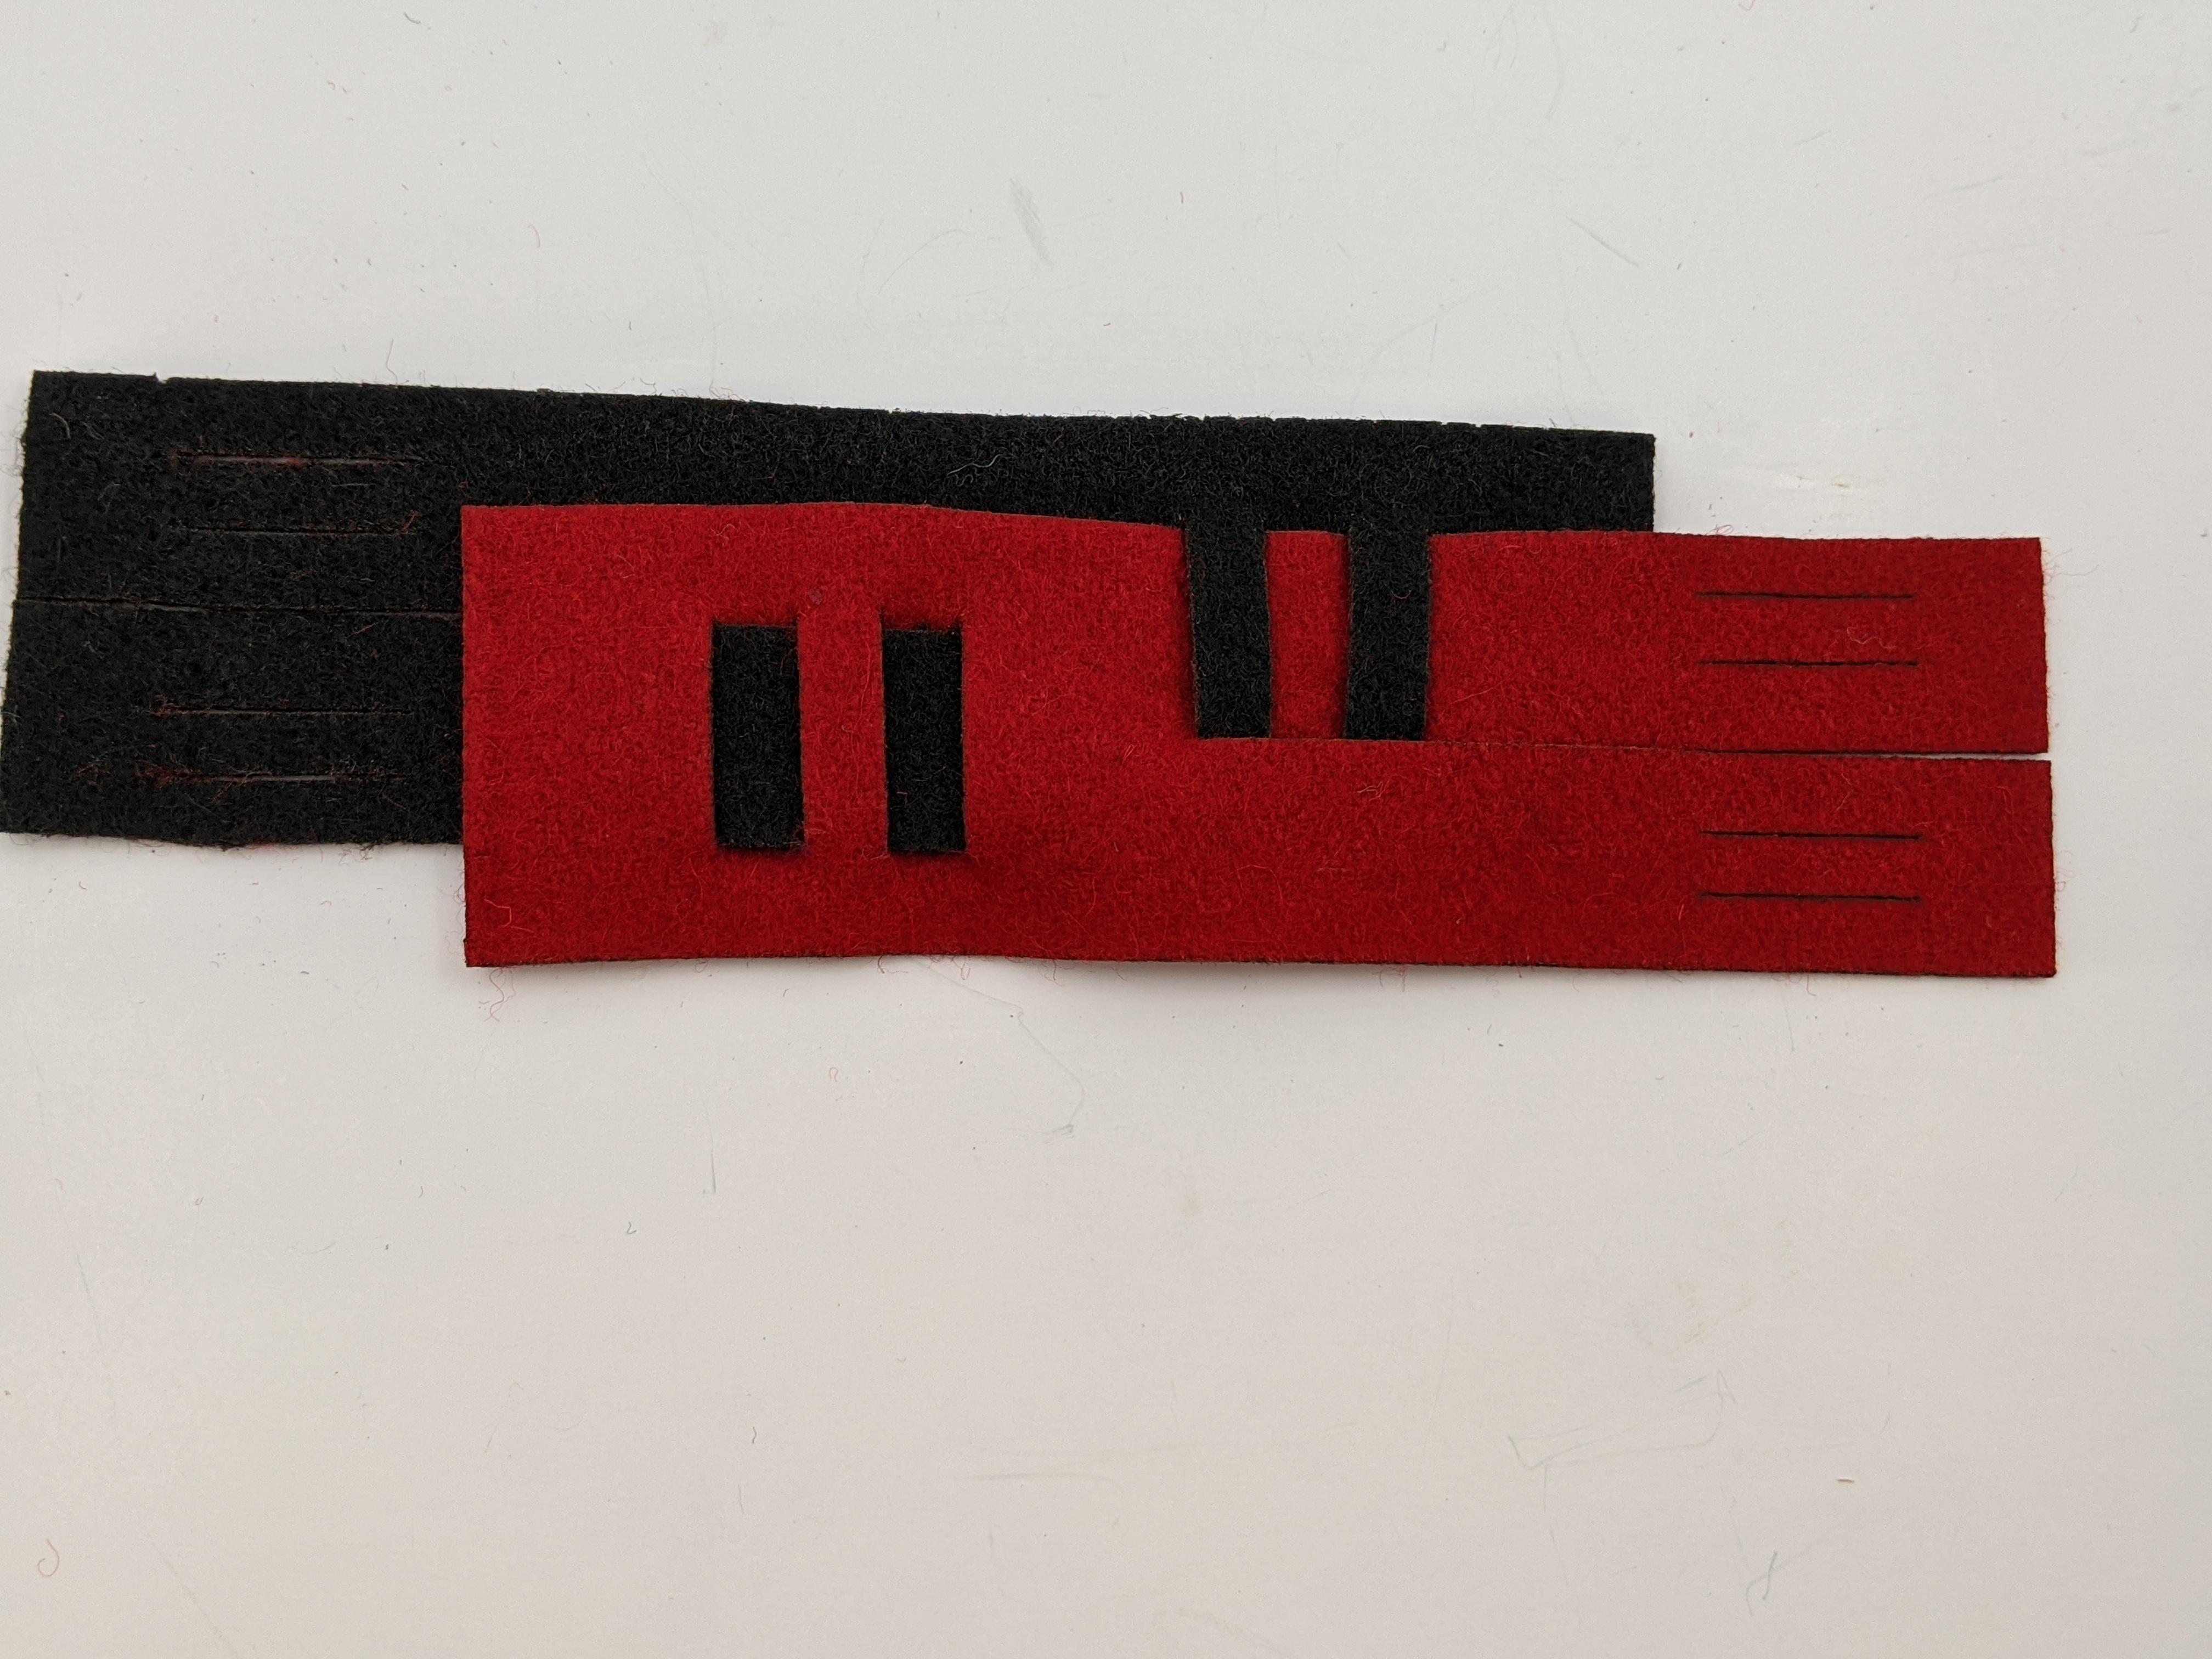
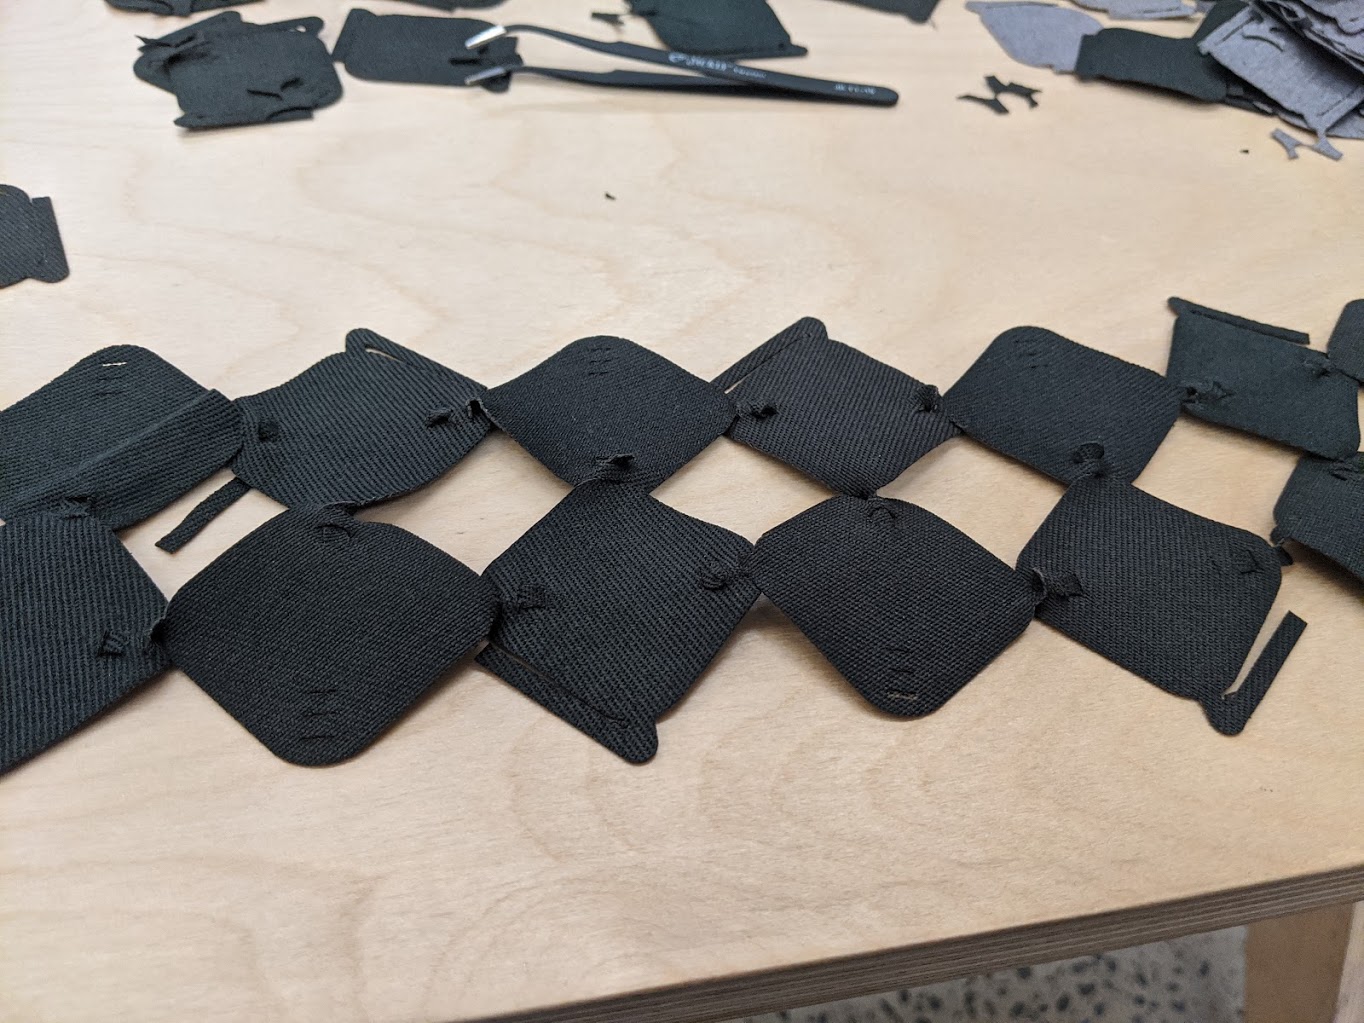
The main idea here is to get rid of the space that the arm were using, to do so I fold the arm towards the main shape. Once unfolded, the elbow from the rotation angle should, once passed trough the holes of the next module create a more solid lock. Paper is great but for this to work, I think I need something a tiny bit sturdier so I went ahead and tried using felt, still using the cricut maker.
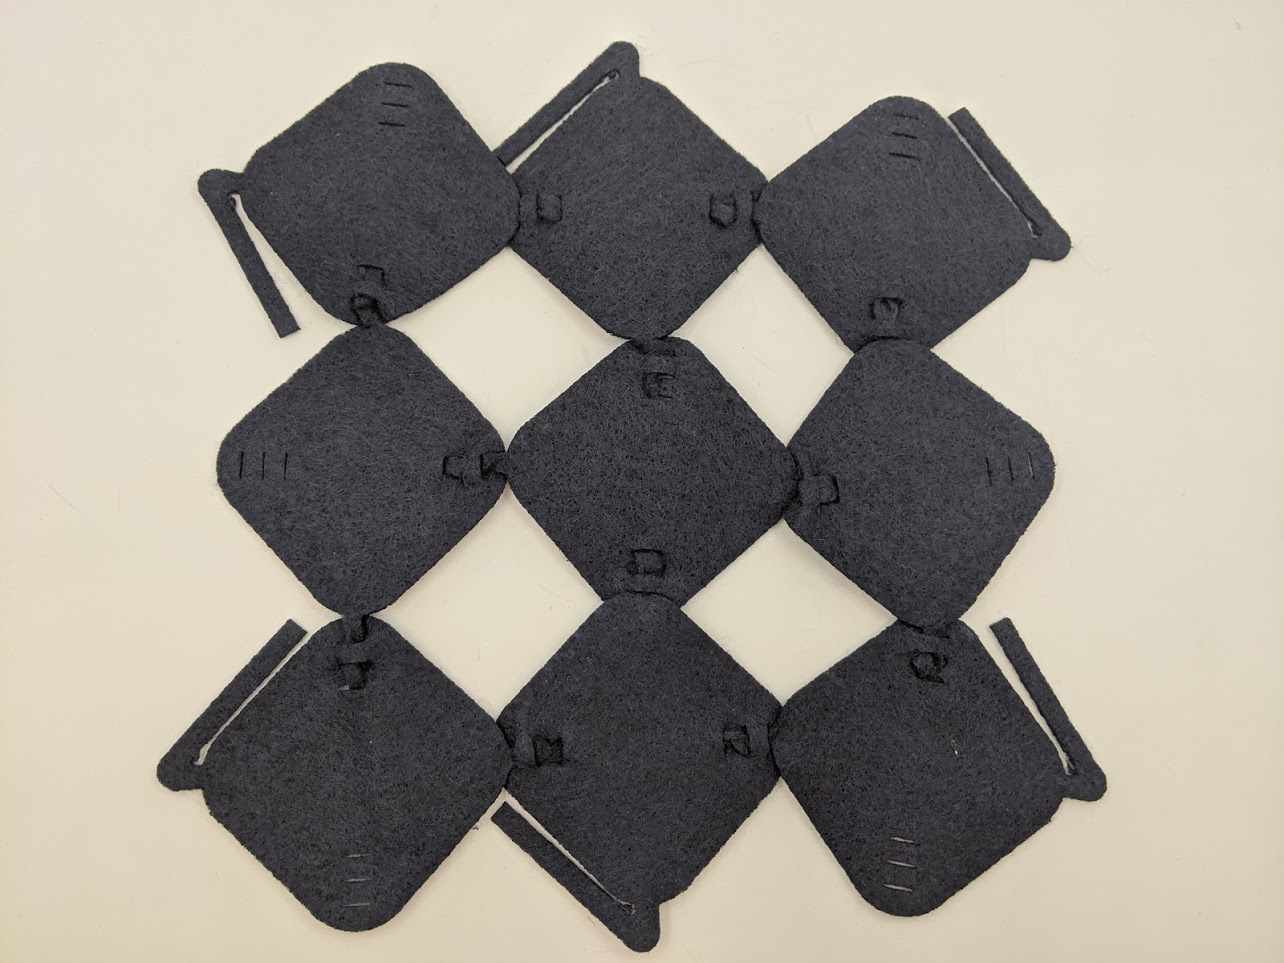

This is much better! the locking mechanism is now very solid, I could test putting it in the washing machine see if it holds. Also, there is now almost 0 material loss wich is something to be proud of I think! Now that this looks good, let's try my second locking mechanism that I had in mind.
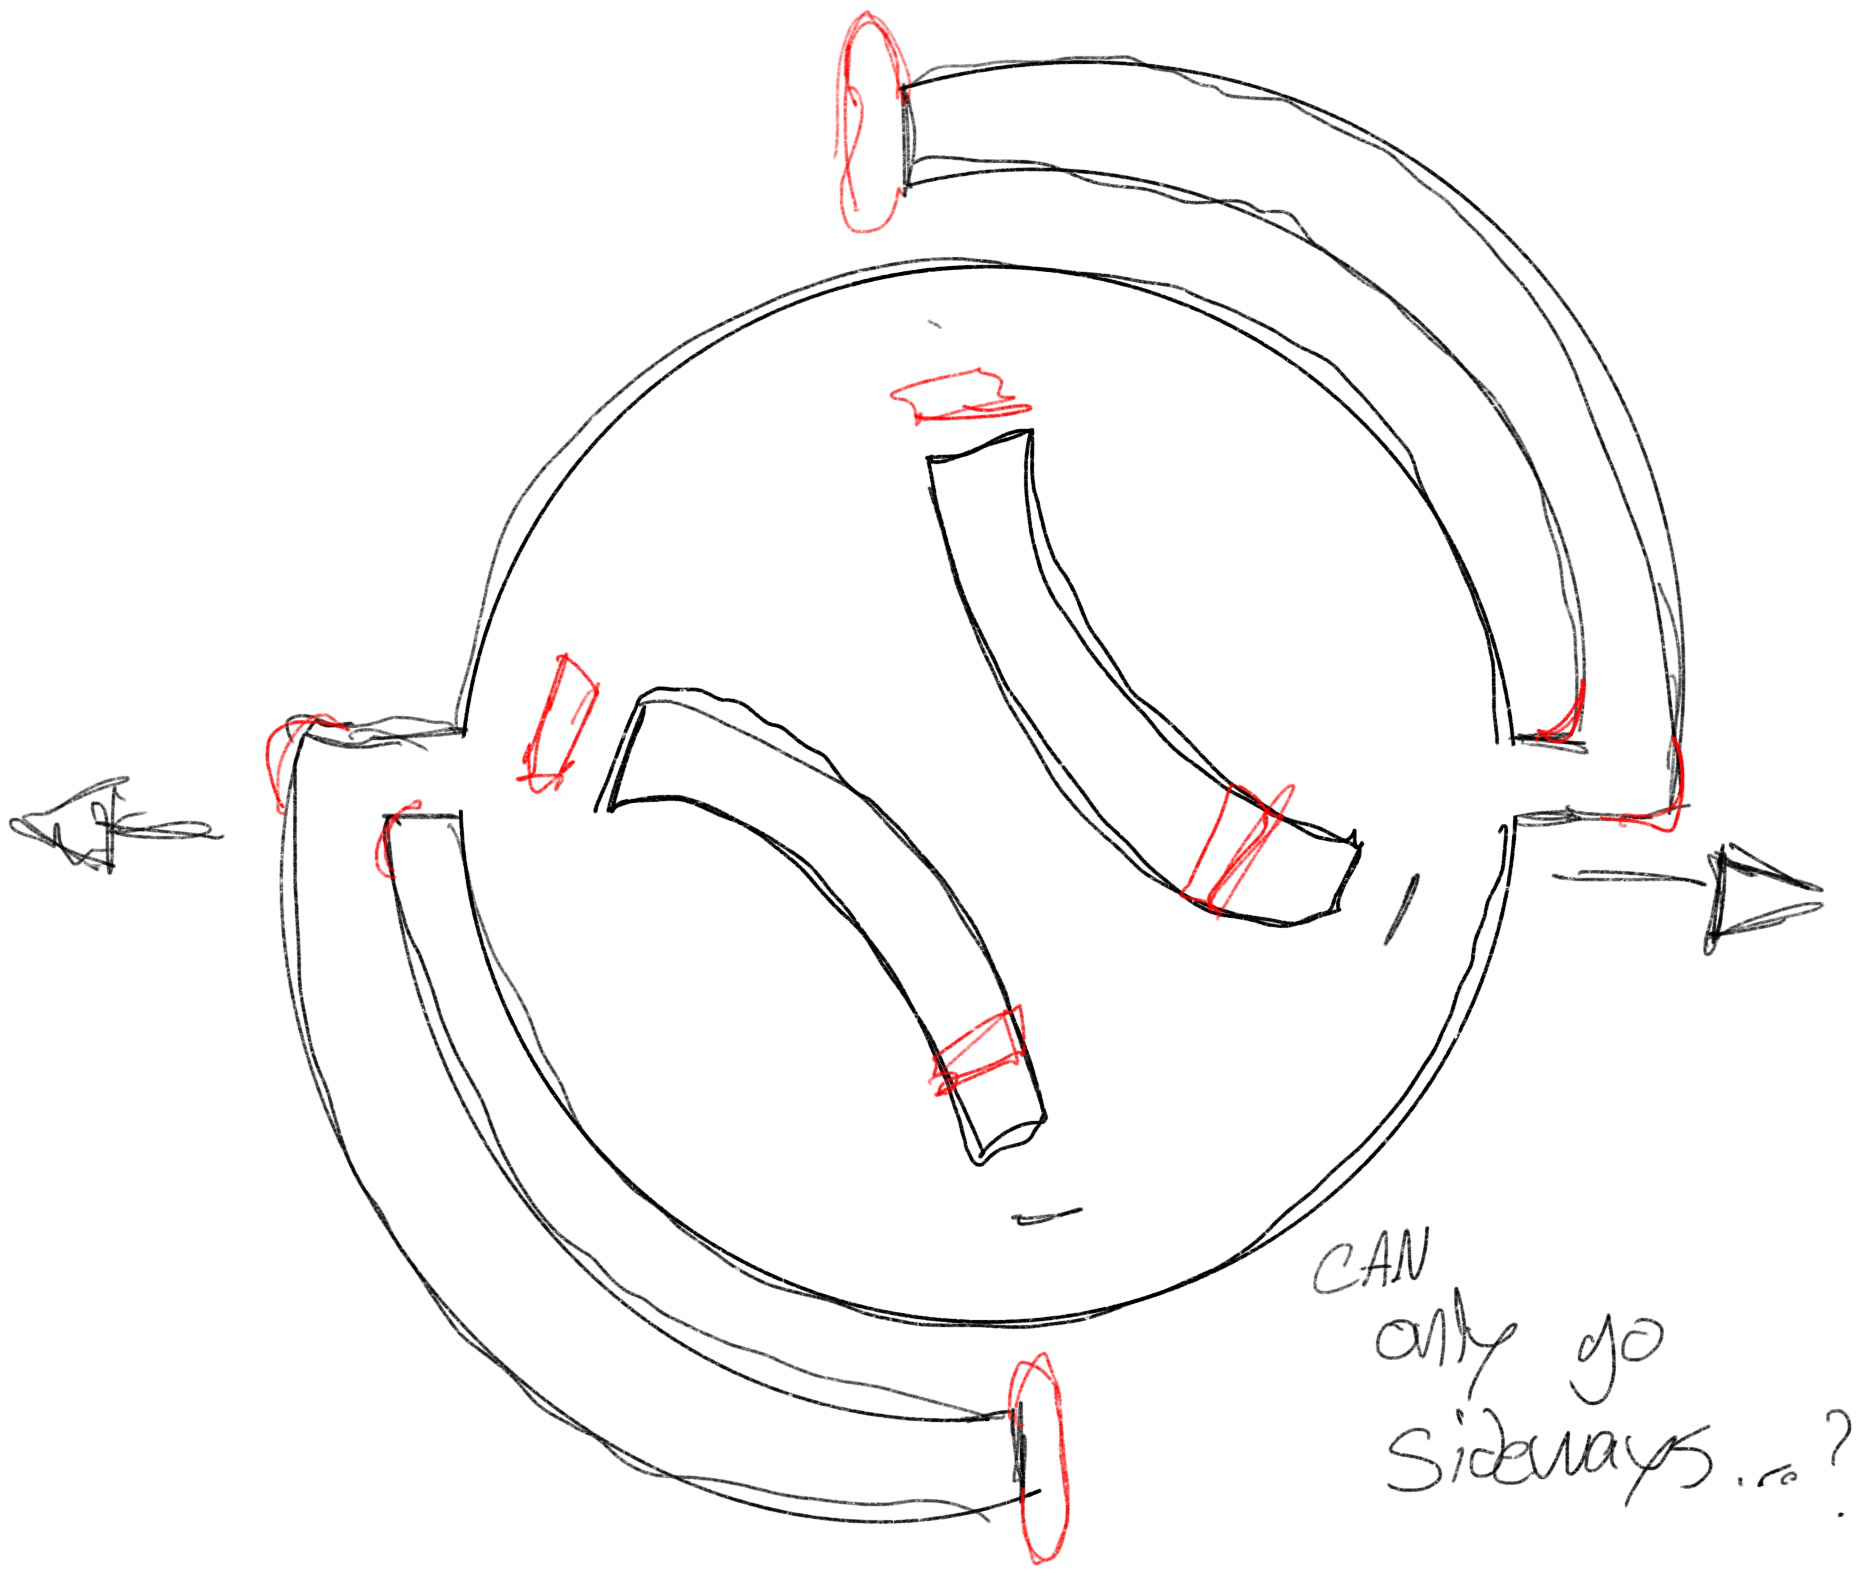
I enjoy the aesthetic of this design, but the issue is that it can only go sideways. Also I dont have high hope that the mechanism will hold. let's quickly try it as it is now and we will come back to it once we see how all of this take form in reality.

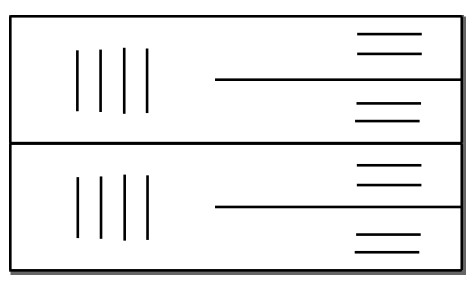
No surprise here, it's very weak, but while it was cutting I made small changes to the design so it can hold better. Here are the new results.
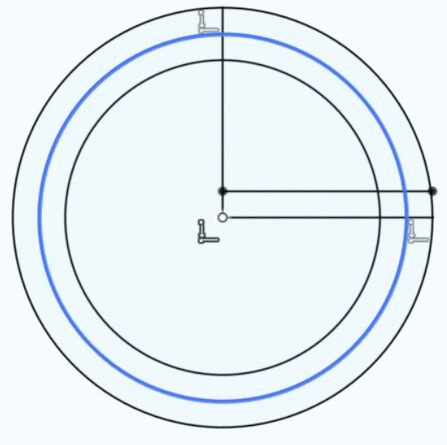
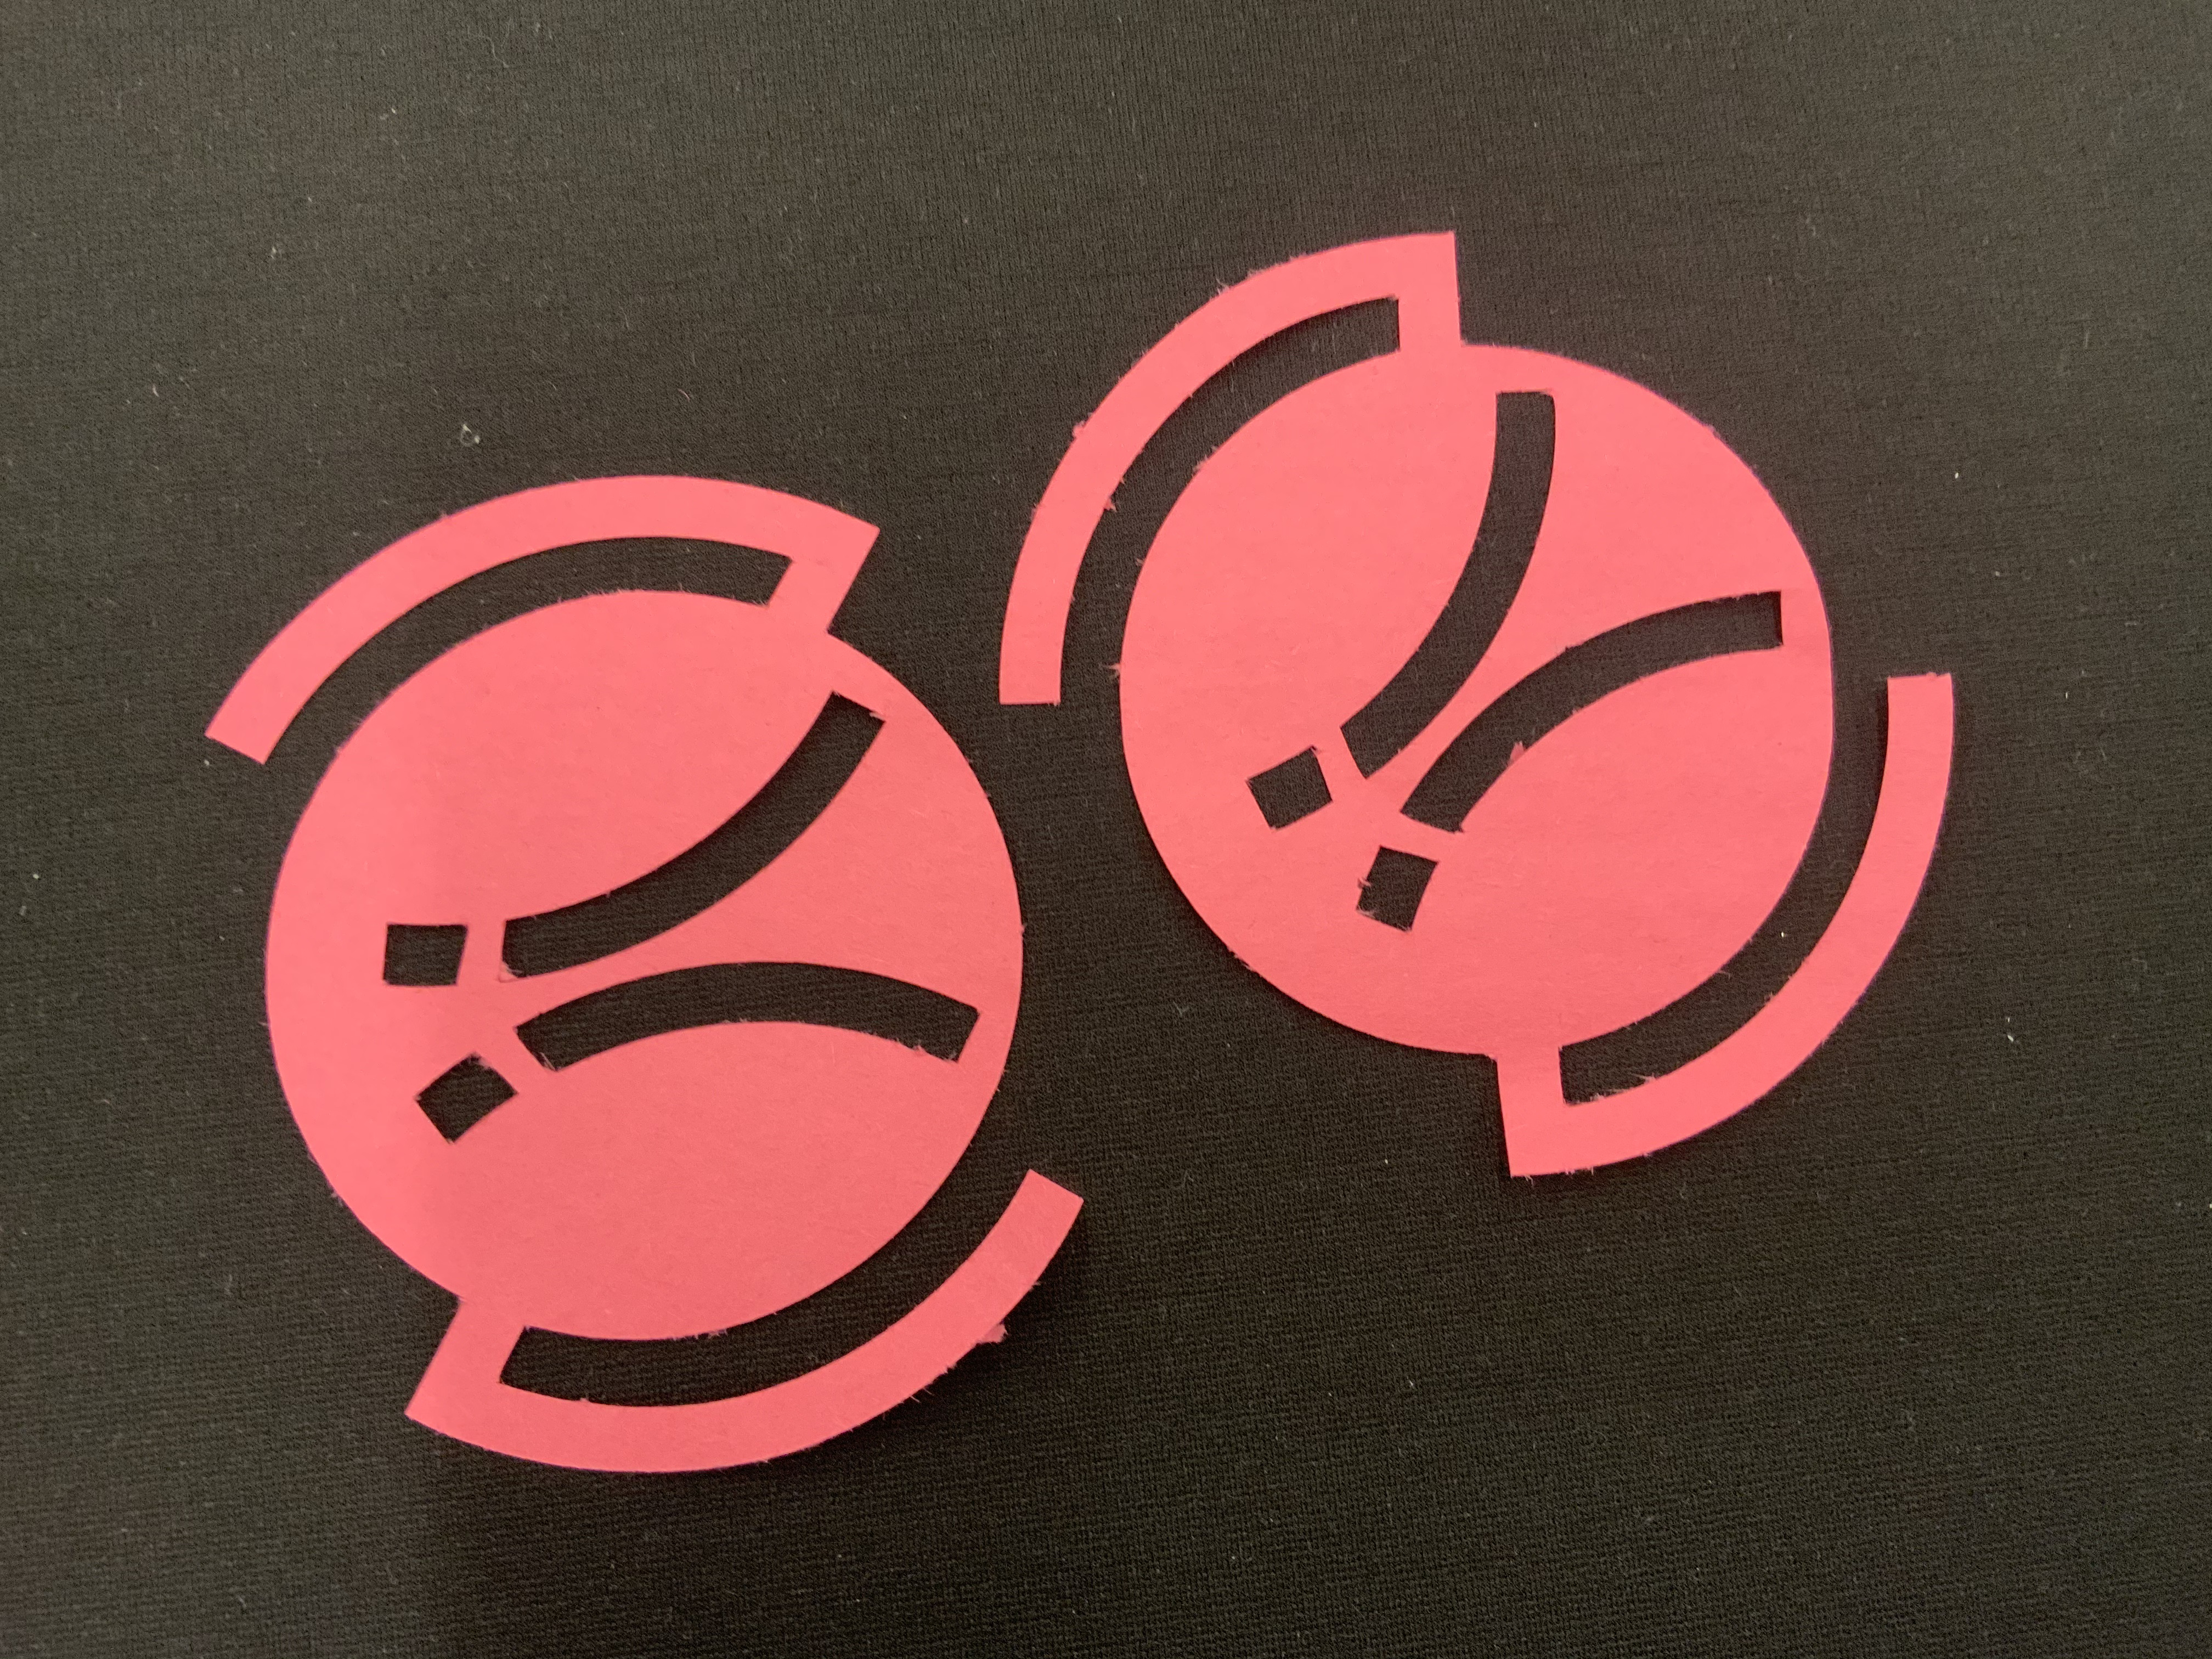
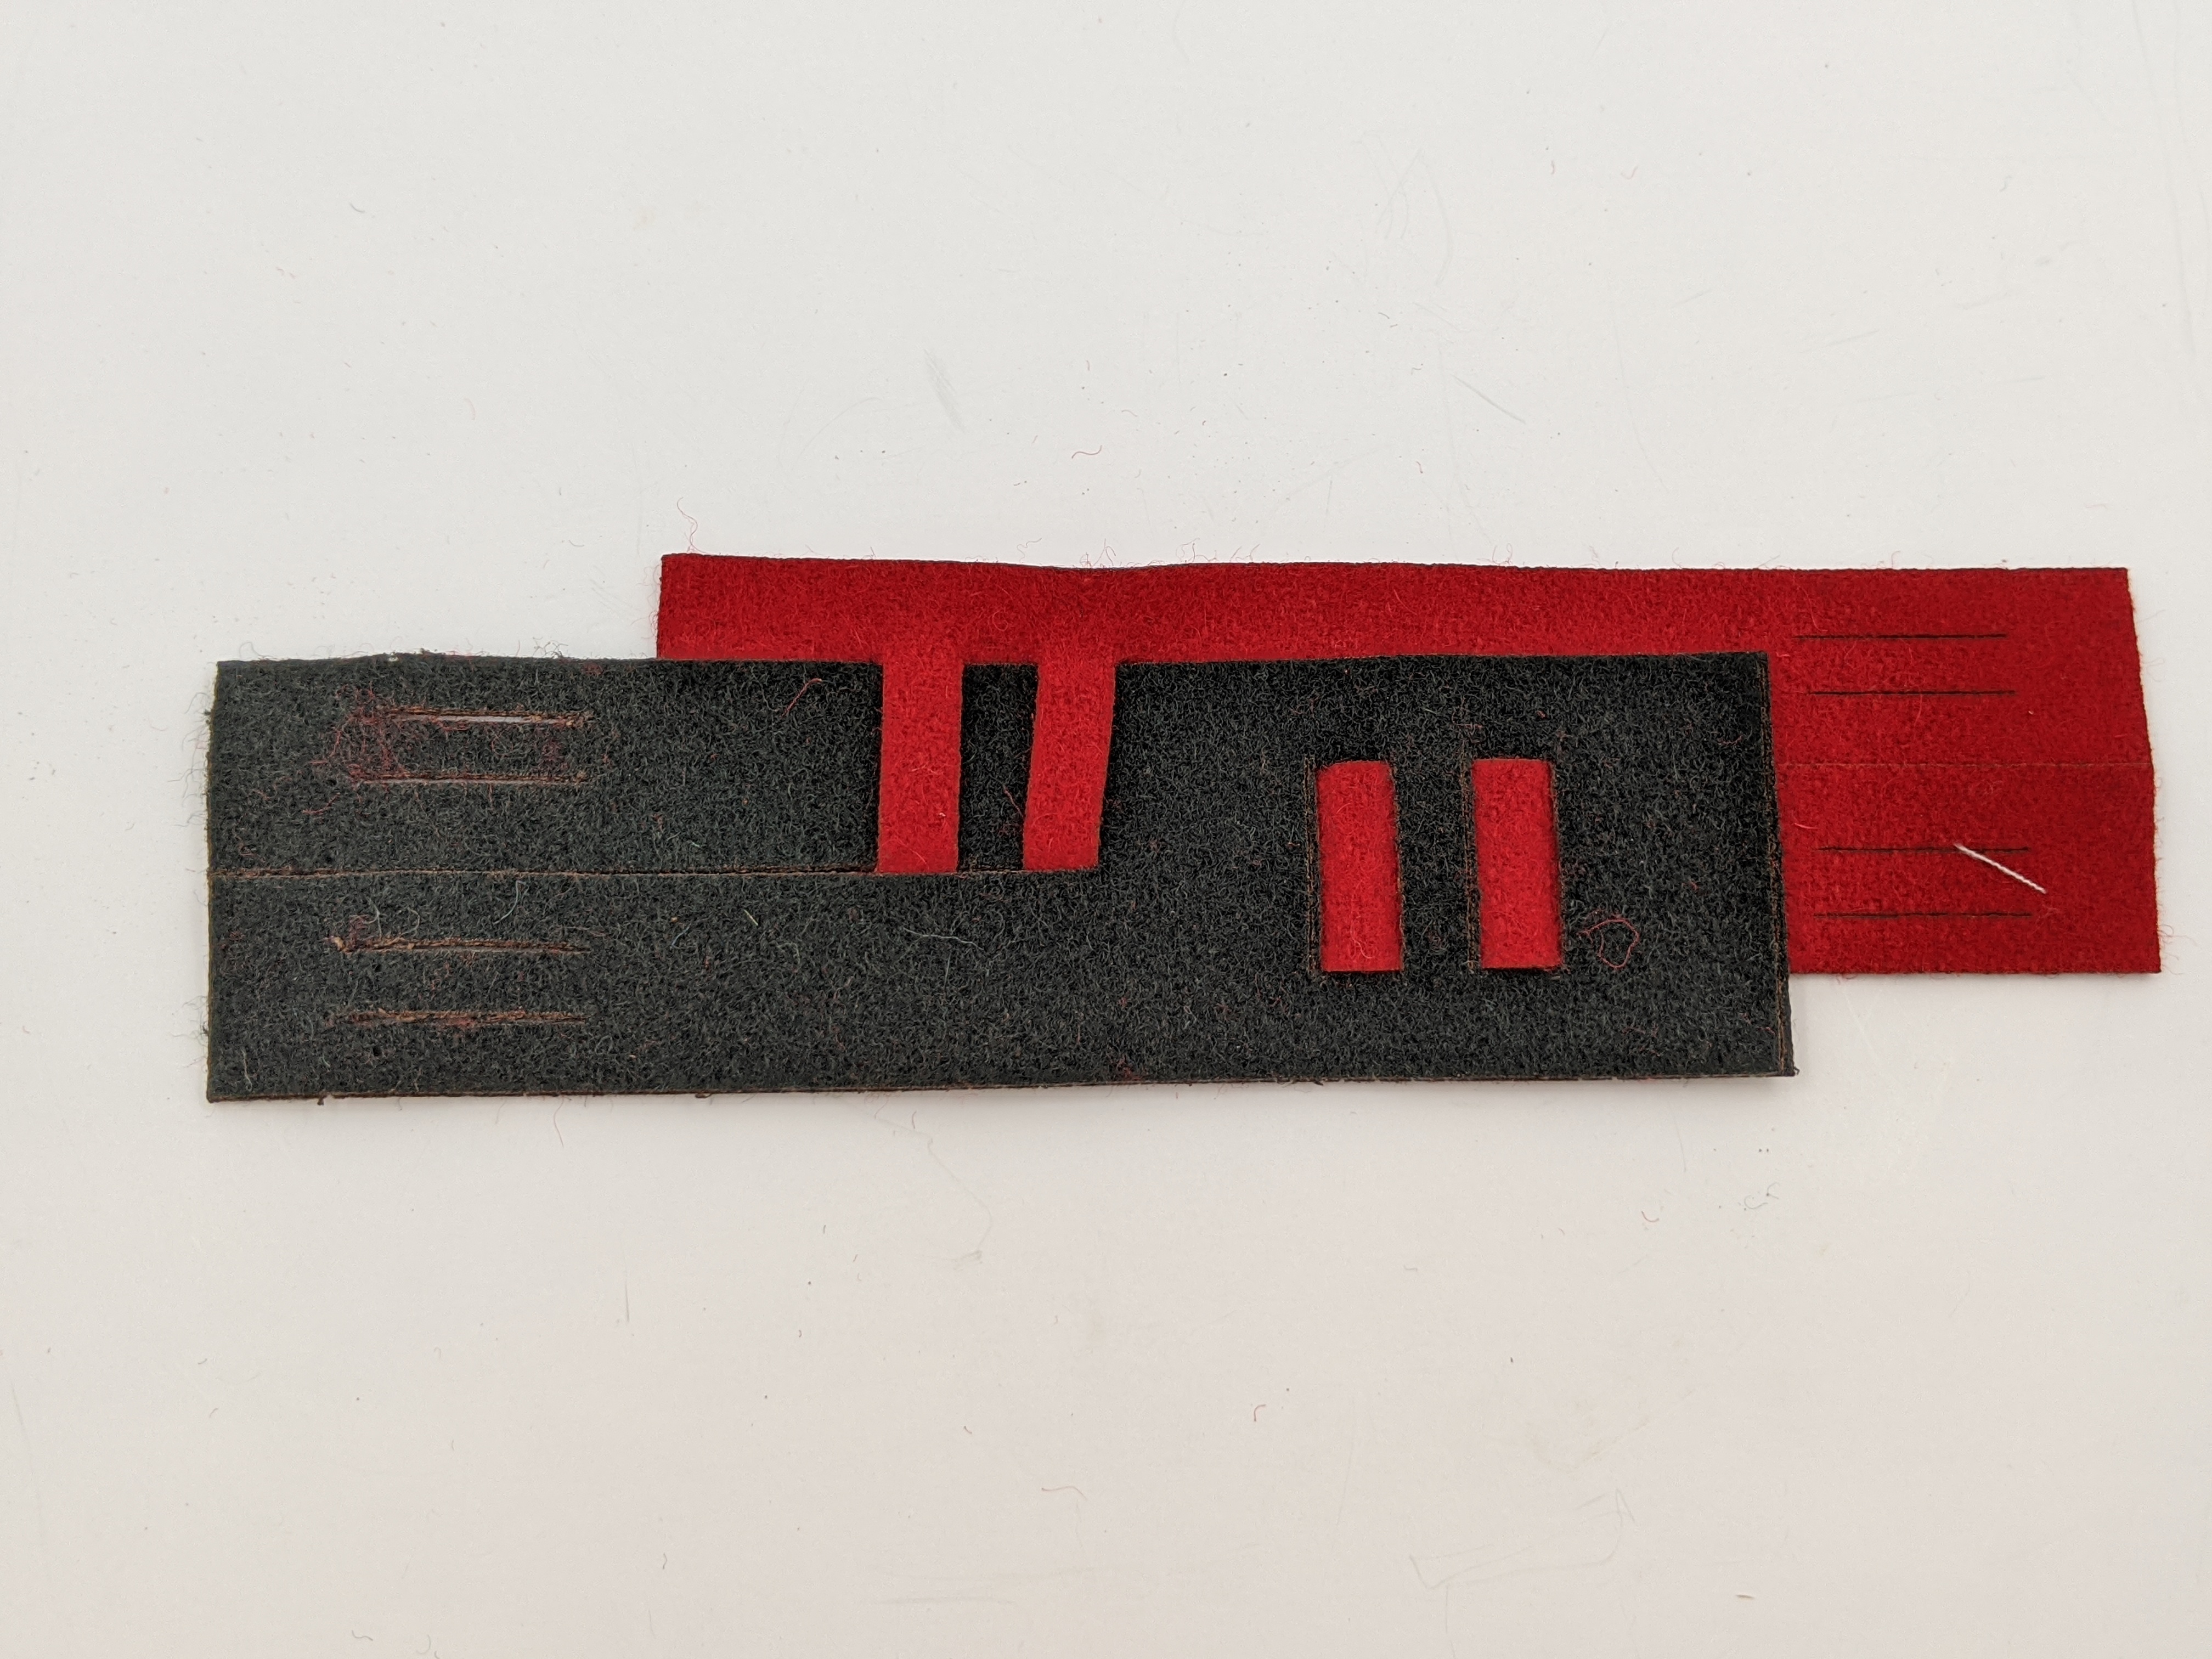
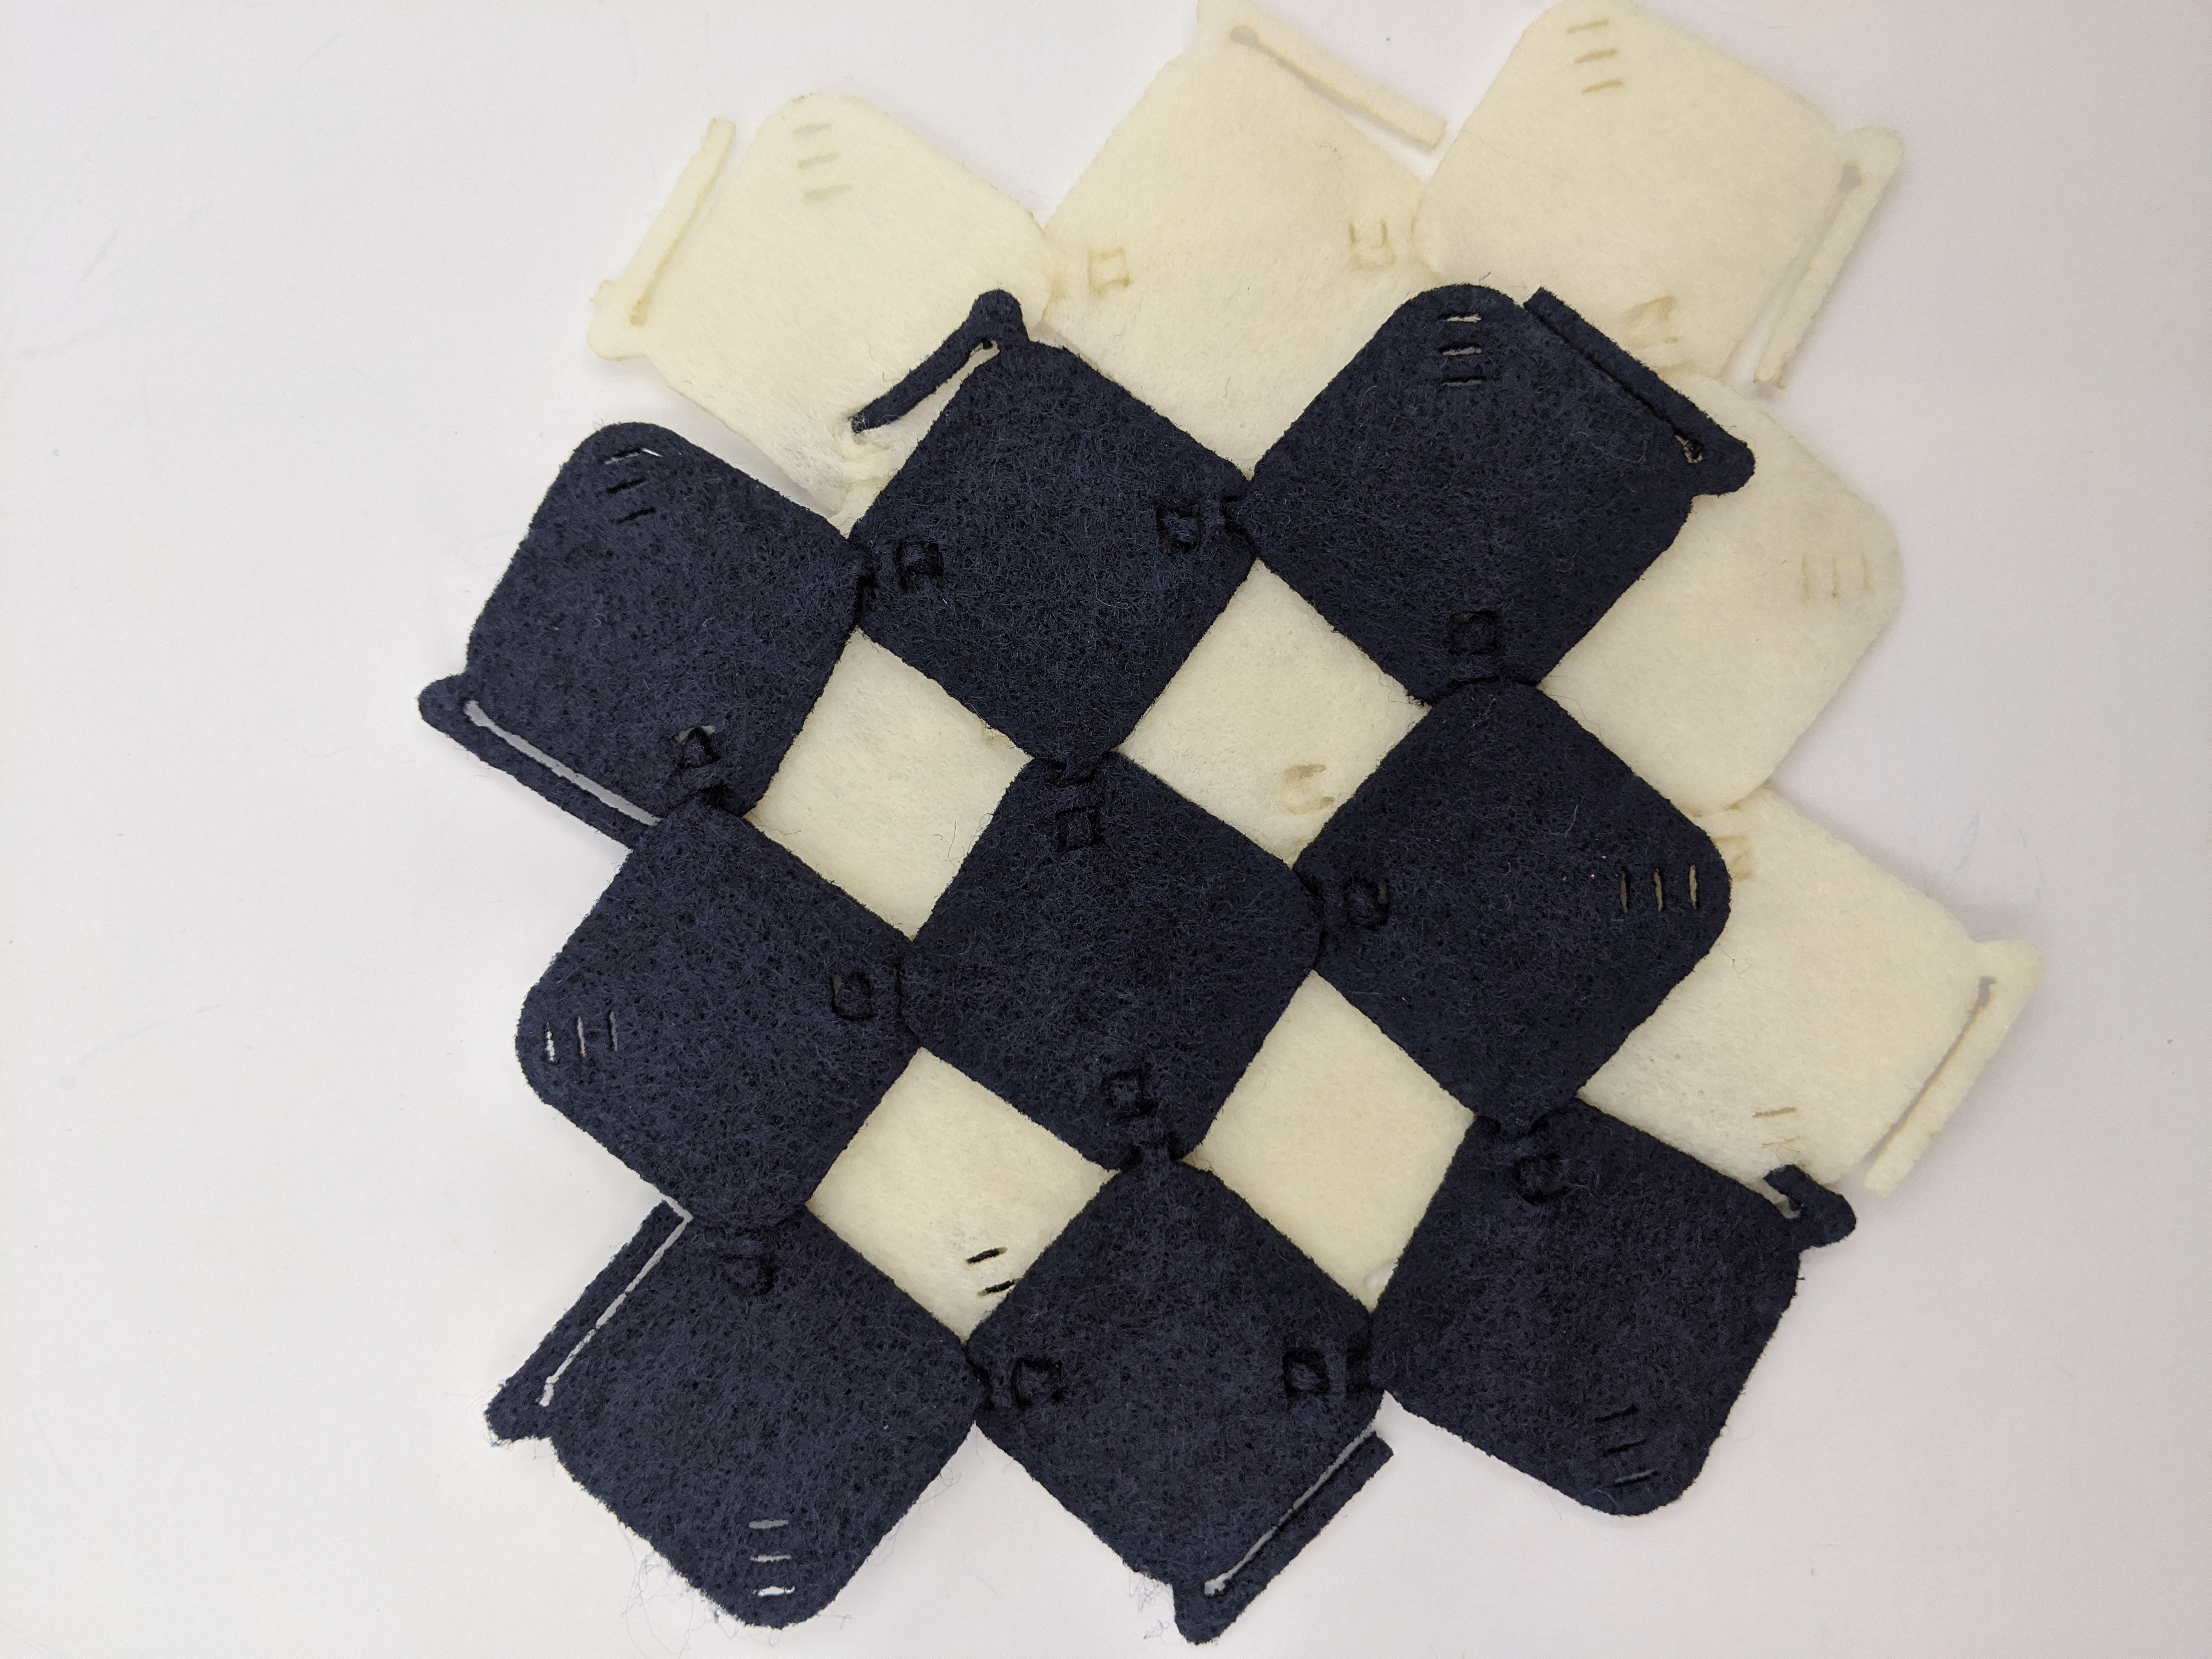
Much better, it's very solid, even more than my first squared design. While doing this perticular design, I had another concept idea for a very simple and solid locking mechanism. the design is so basic that I decided to use Inkscape to make a first quick prototype.
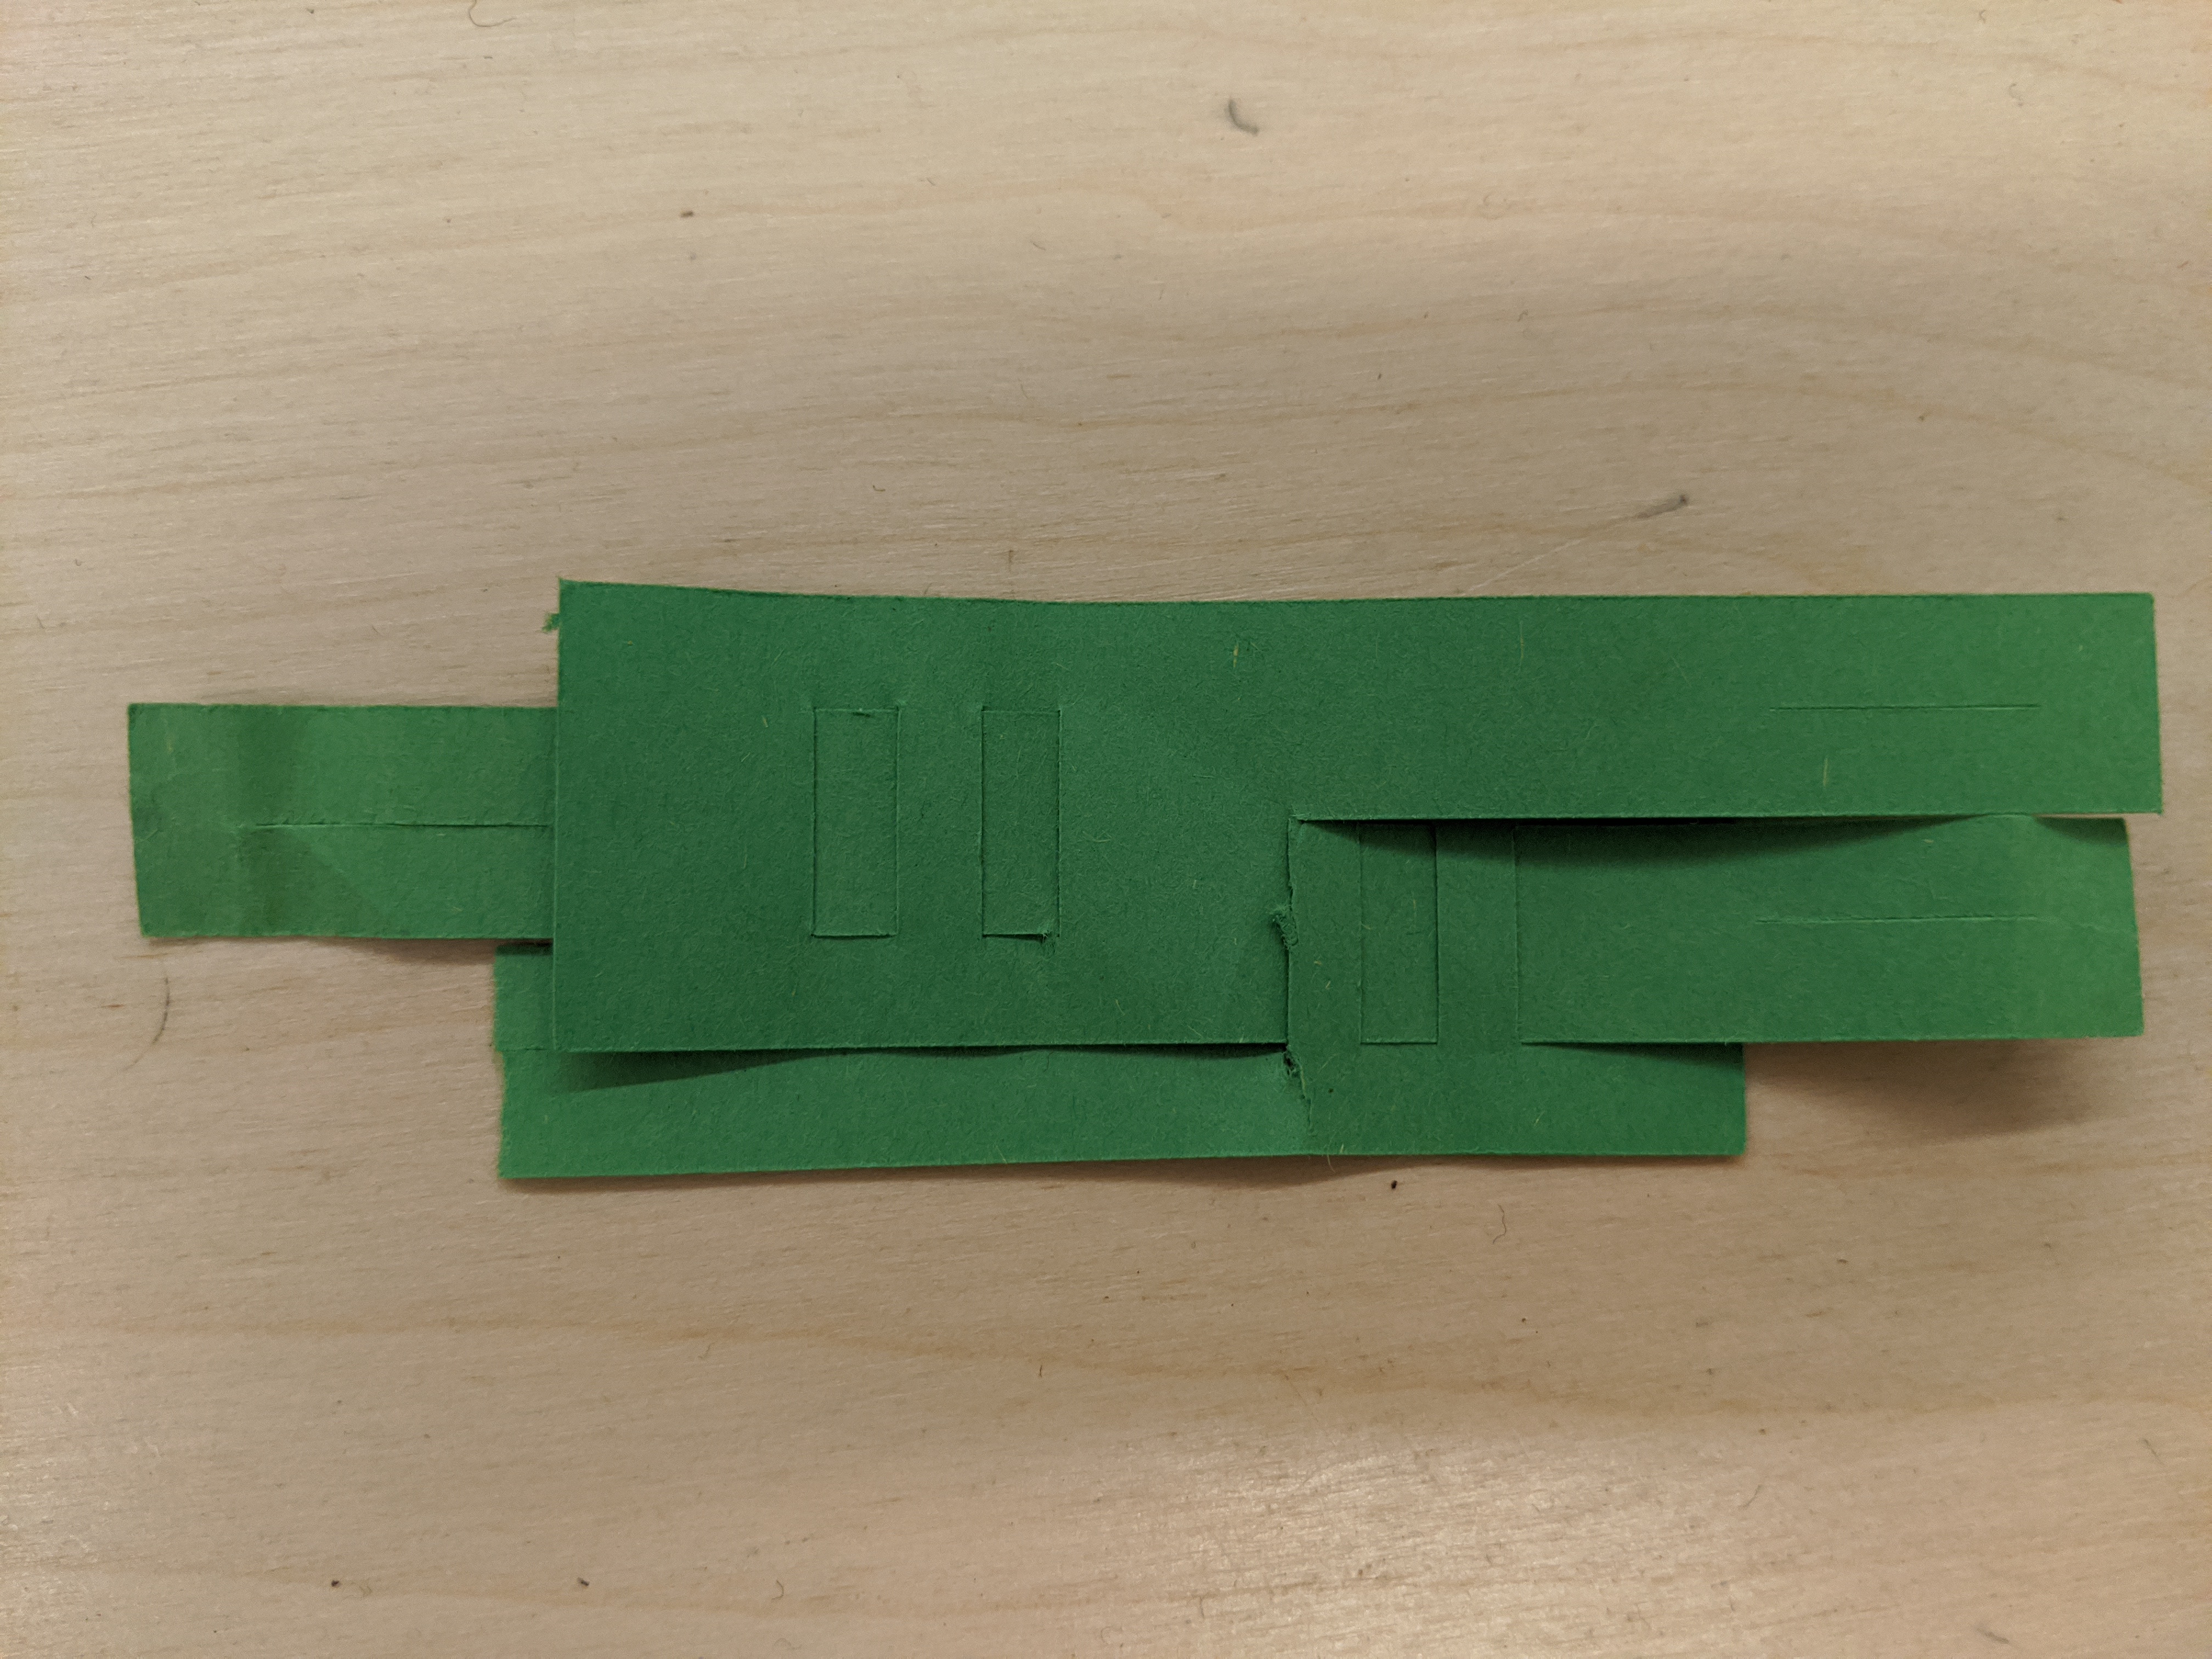
Once lock, this design seems very strong, I love the architectural aesthetics of it too. The pictures of the paper prototype does'nt really give justice to the design so here is the model in felt.
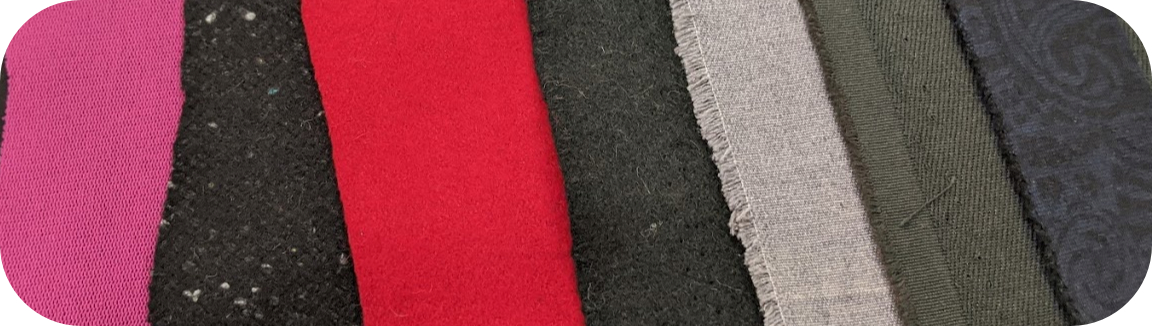
testing different materials
There is some material that we know for sure that we should never put inside the lasercutter, sythetic leather, vynil, pvc are some of them. The reason why is that not only it is harmful for the operator (all of these contains chlorine gas when cut) but it is also not good for your machine since it can damage the optics and create corrosion inside your machine.
Reading the polyester MATERIAL SAFETY DATA SHEET (MSDS) I could'nt find any information that would stop me from using it inside of my lasercutter. For each sample we took, we made sure of the composition of the fabric and mostly made sure no pvc where to be find inside the composition.
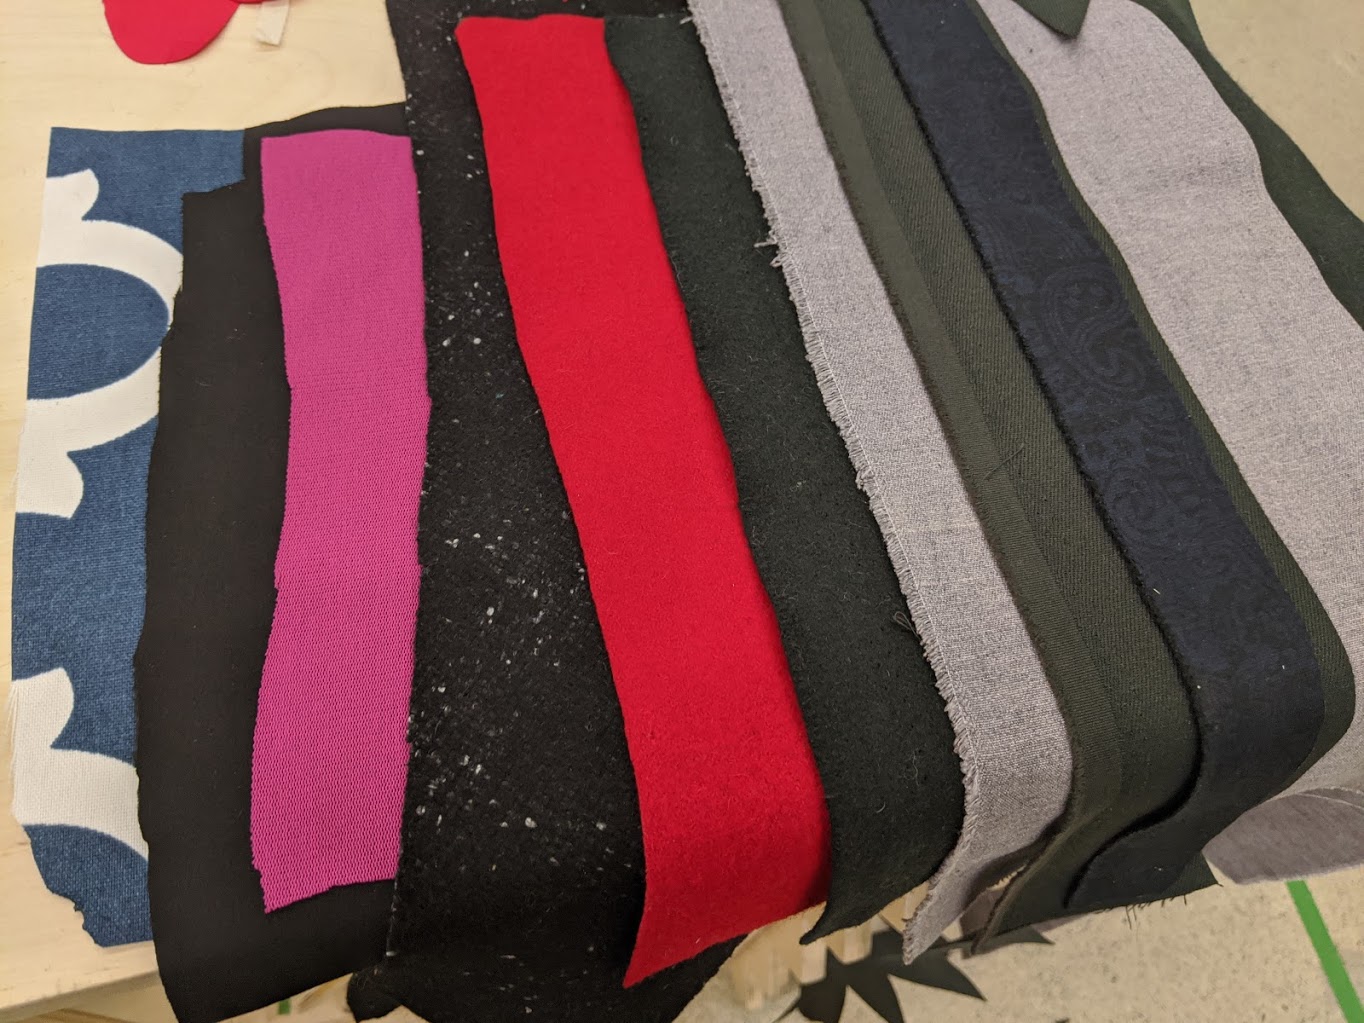
So I went ahead and start testing my designs. I started with felt and use very low laser settings.
Assembling my design

You can find my files used for this week assigment here and on os-circular fashion